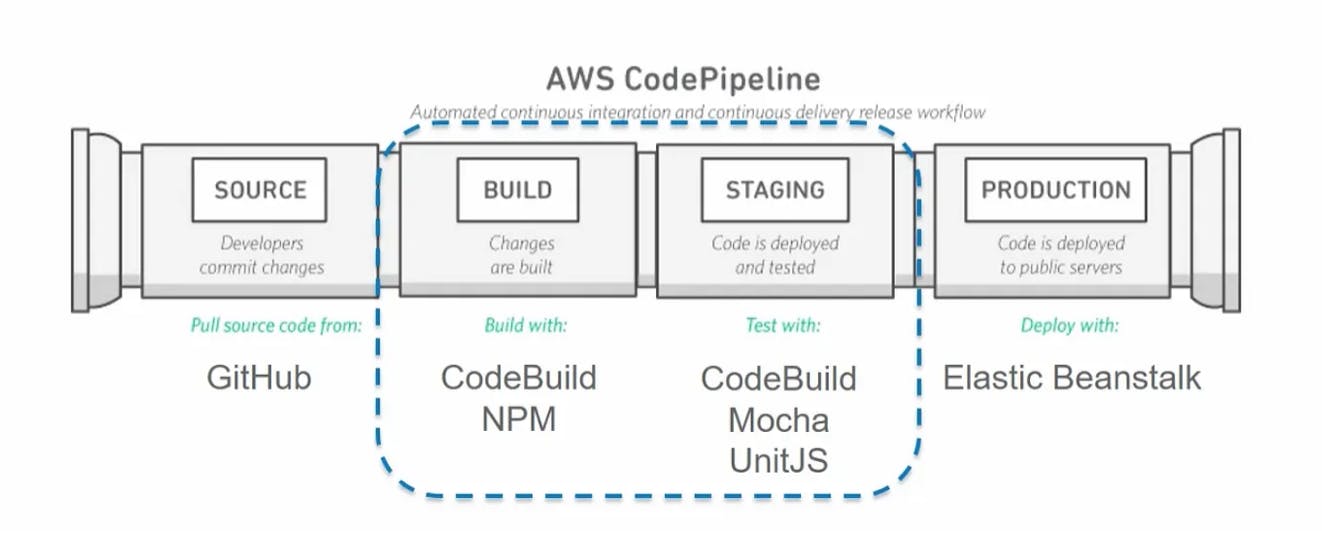
How to integrate build and test processes with AWS CodePipeline and AWS CodeBuild (CI/CD)
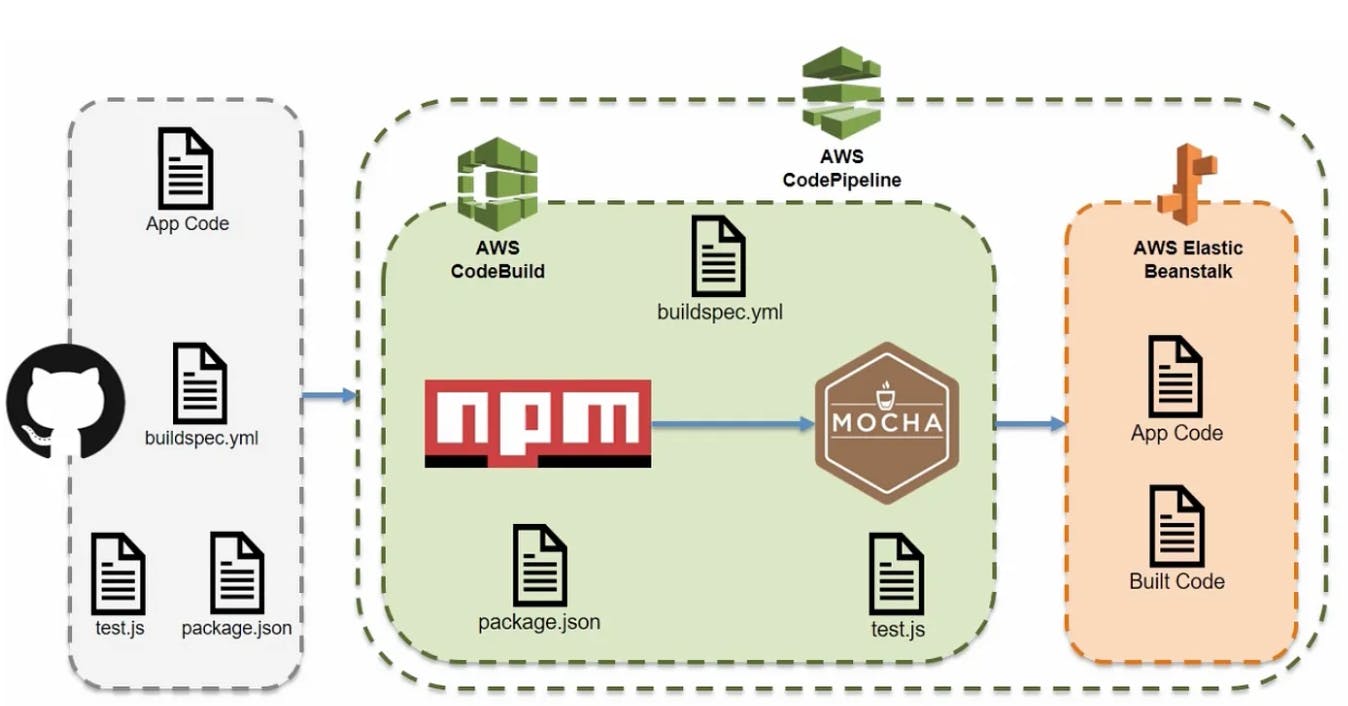
What exactly is Mocha?
Well, Mocha is a feature-rich JavaScript test framework running on Node.js and in the browser, making asynchronous testing simple and fun. Mocha tests run serially, allowing for flexible and accurate reporting, while mapping uncaught exceptions to the correct test cases. So it’s like pytest for Python where it tests your code the only difference is that it's for JavaScript instead.
Codebuild
Create an application in Elastic Beanstalk
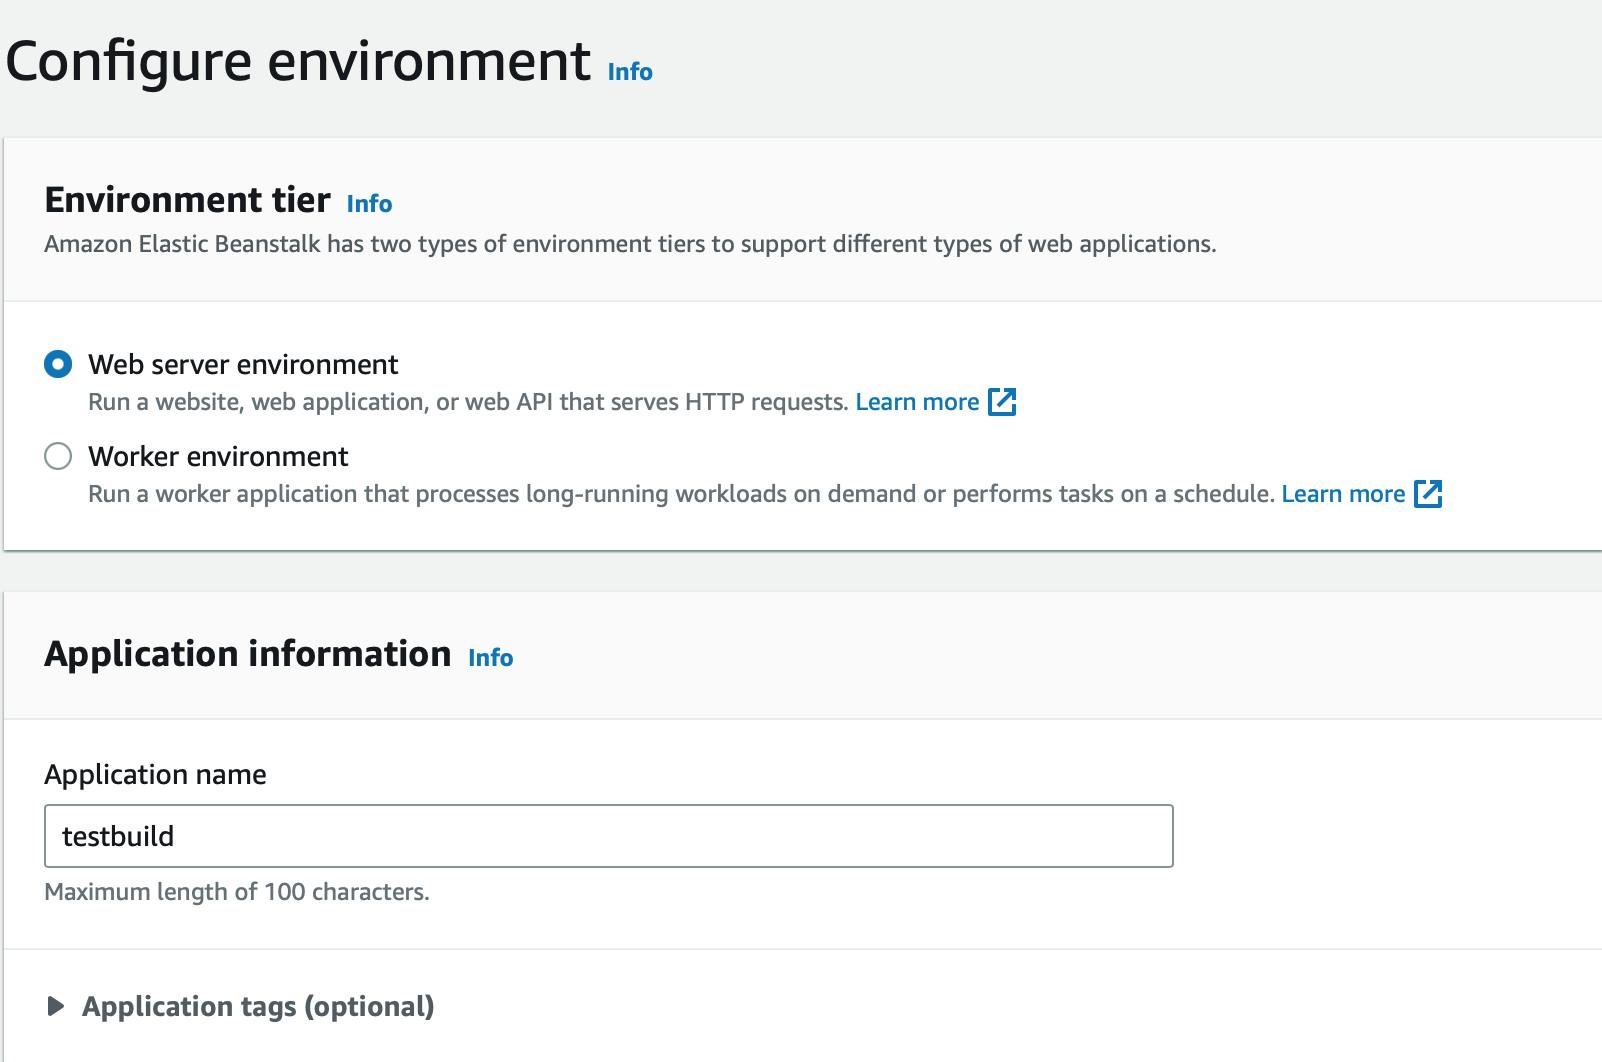
AWS management console goes to Elastic Beanstalk and creates a new application.

Select Web server environment.
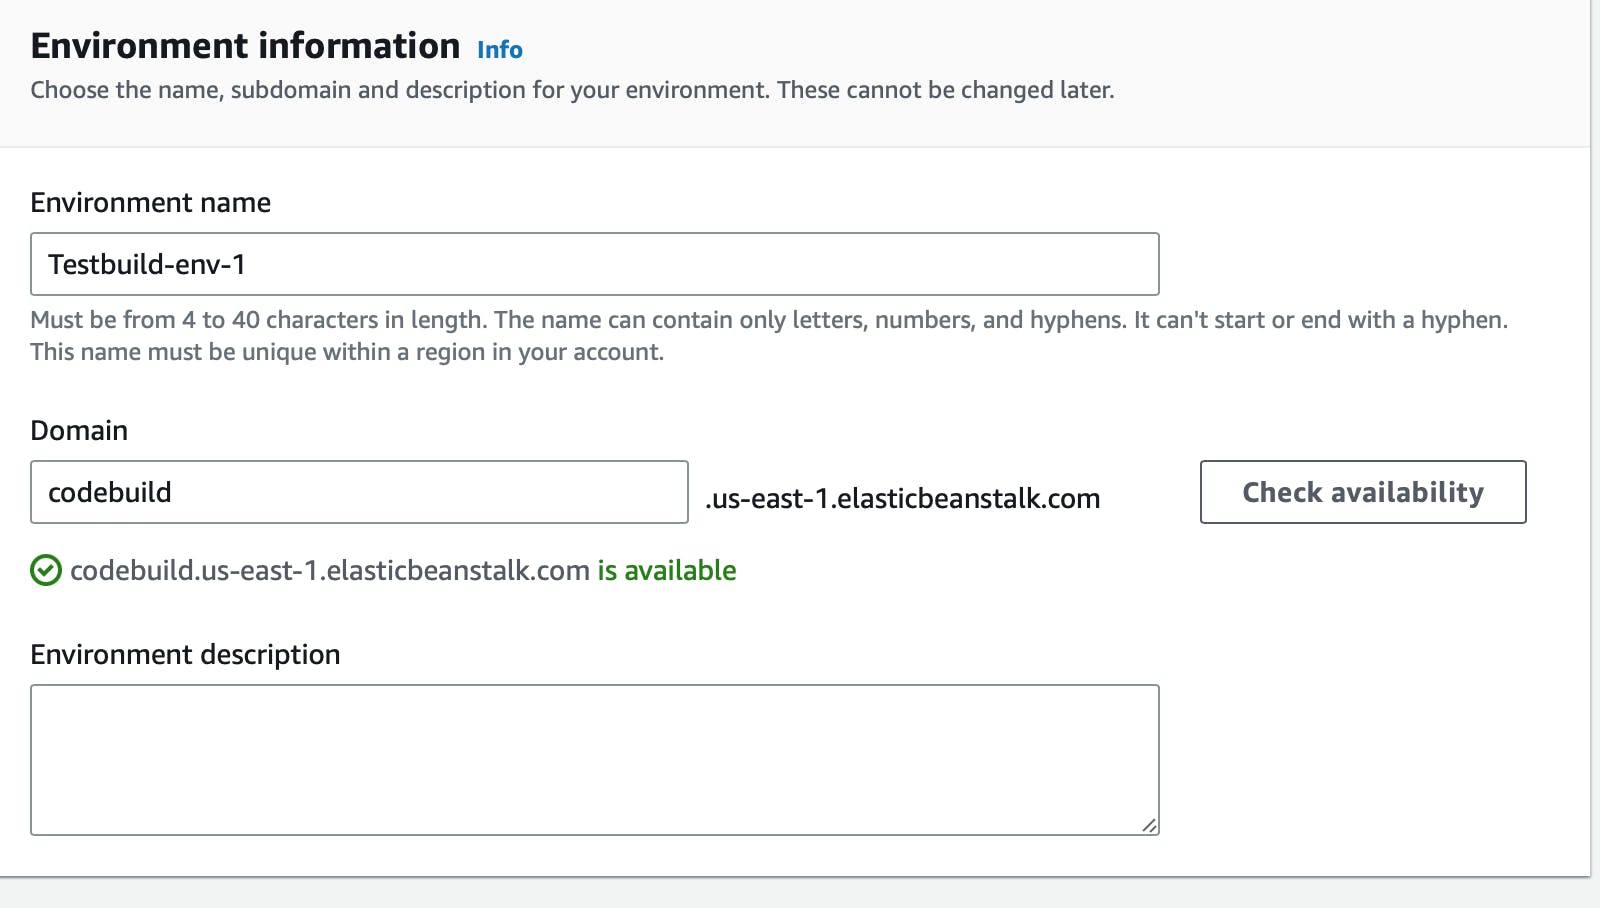
Create a name for the Application environment. Also if you feel the need you can create a name for the domain but it’s not necessary it will be autogenerated for you.
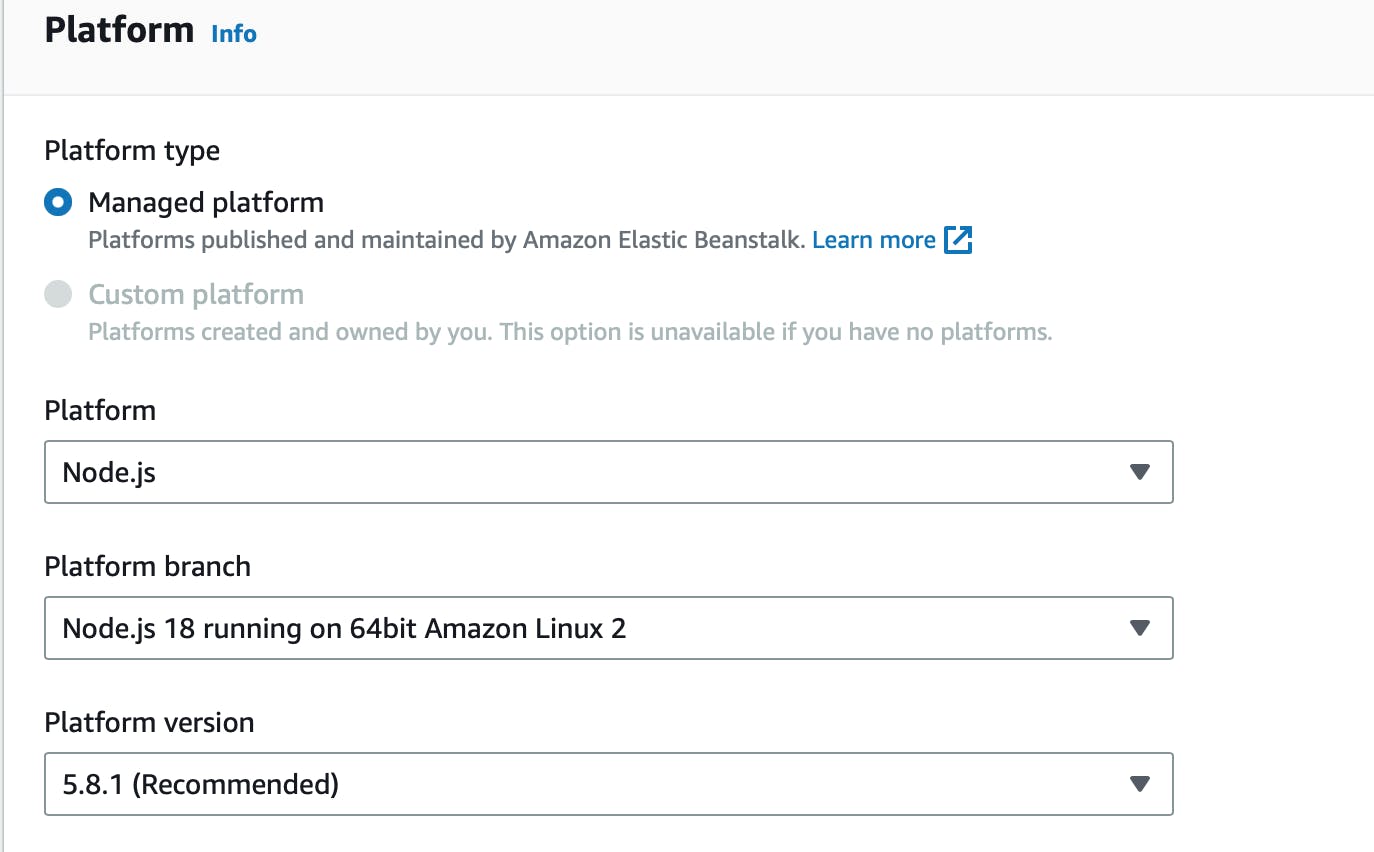
For the Platform Section
Select the managed platform
For the platform choose Node.js
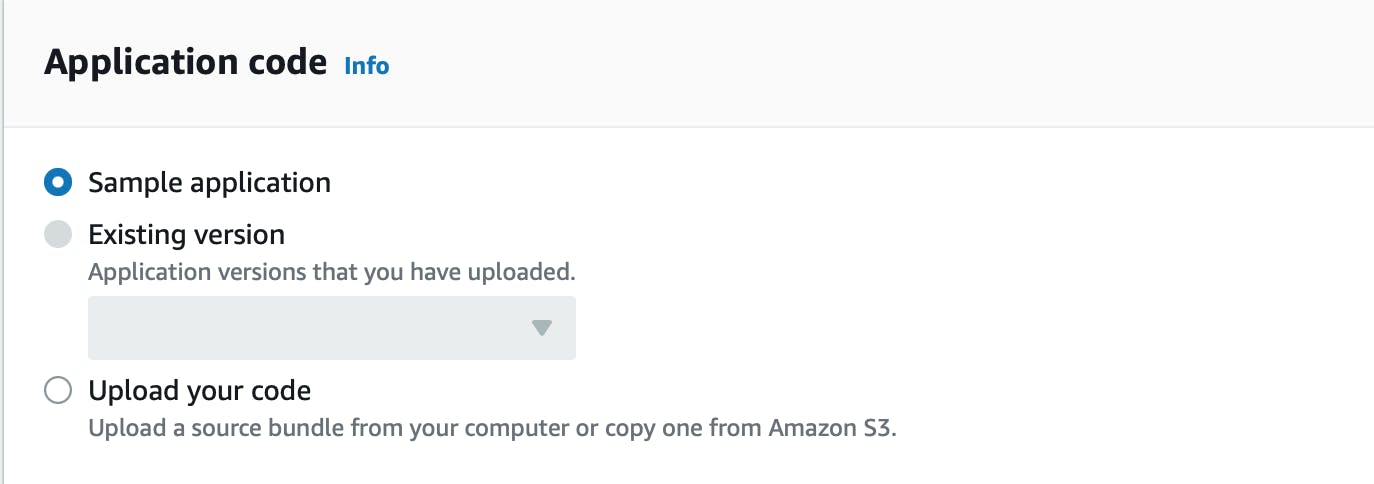
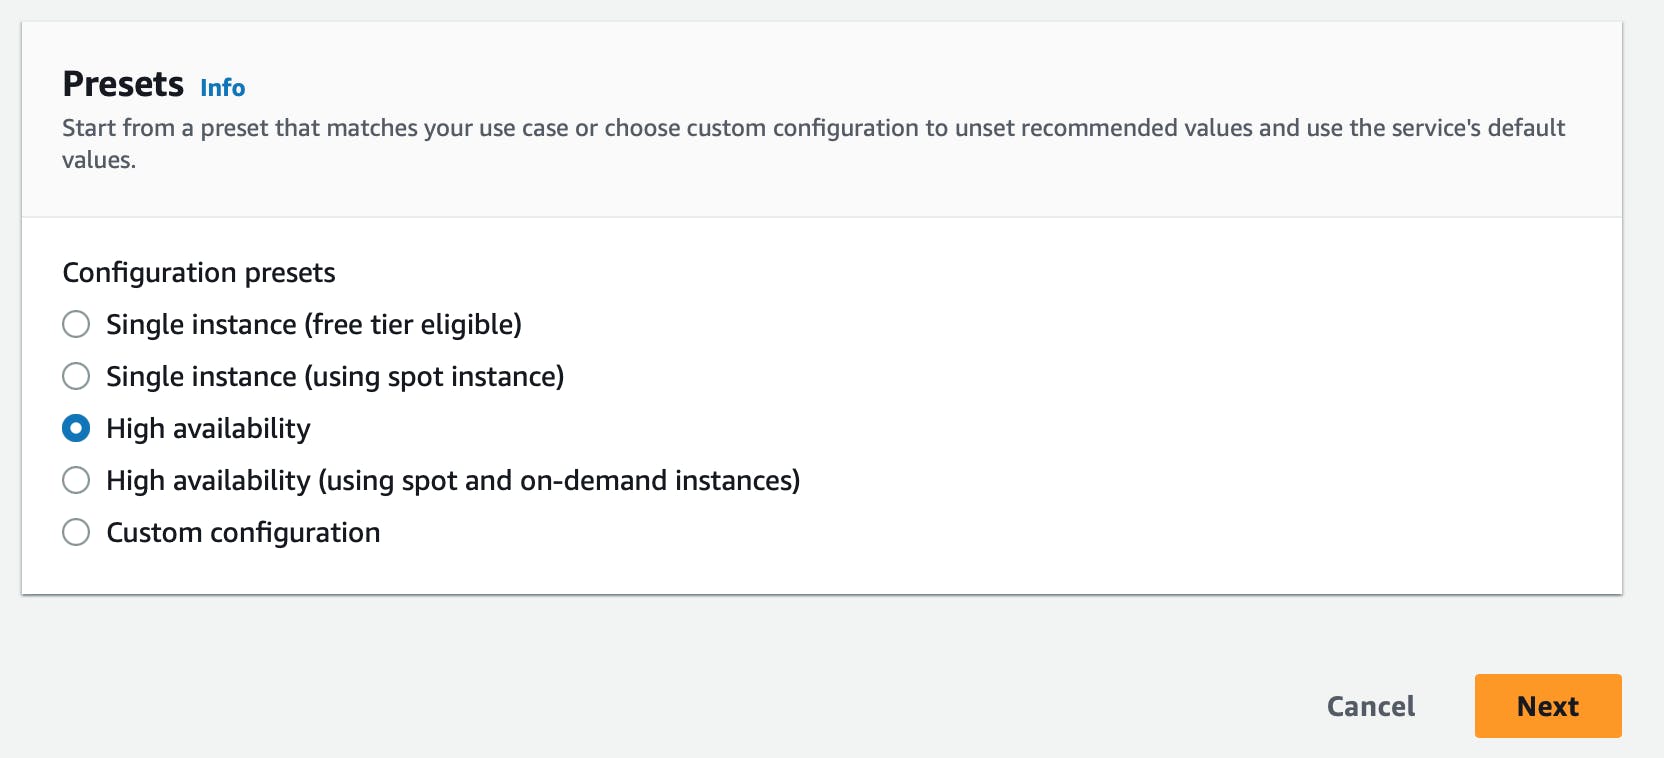
In the Application code section choose sample application and for the presets select high availability and click next.
For Configure Service Access through Configure updates, monitoring and logging (Steps 2 through 4)
Leave the default and click next and submit and the environment will be created for you.
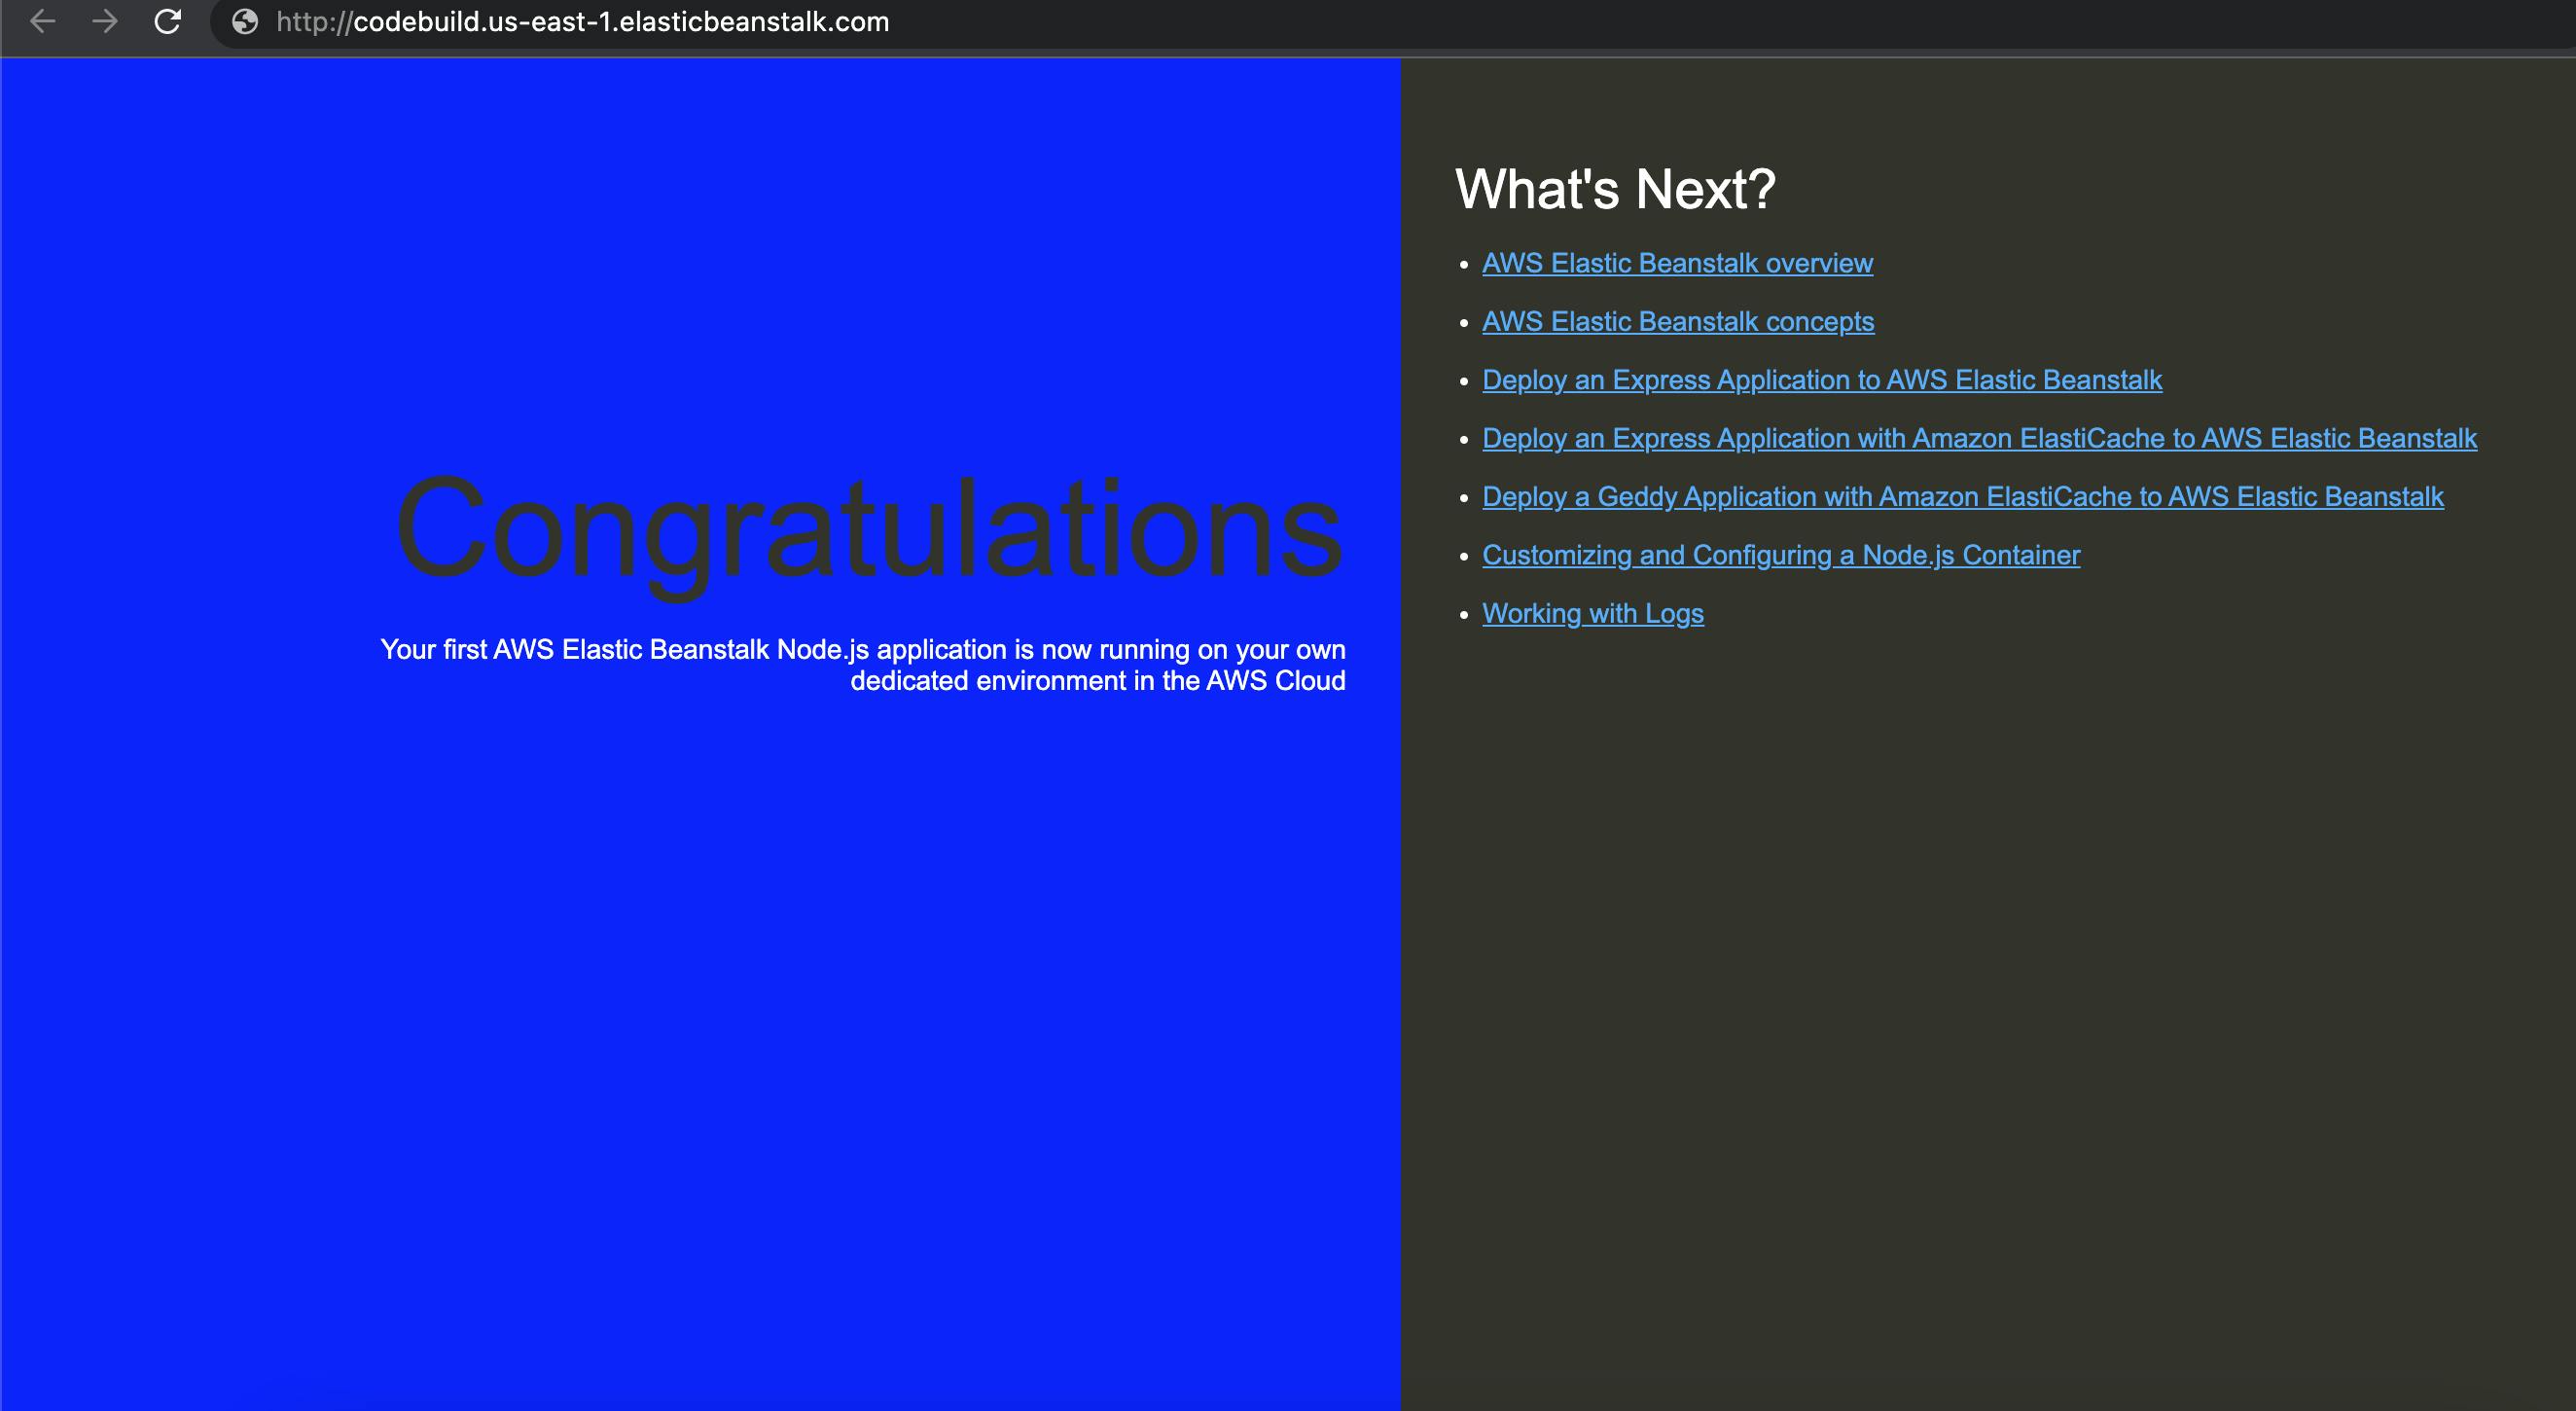
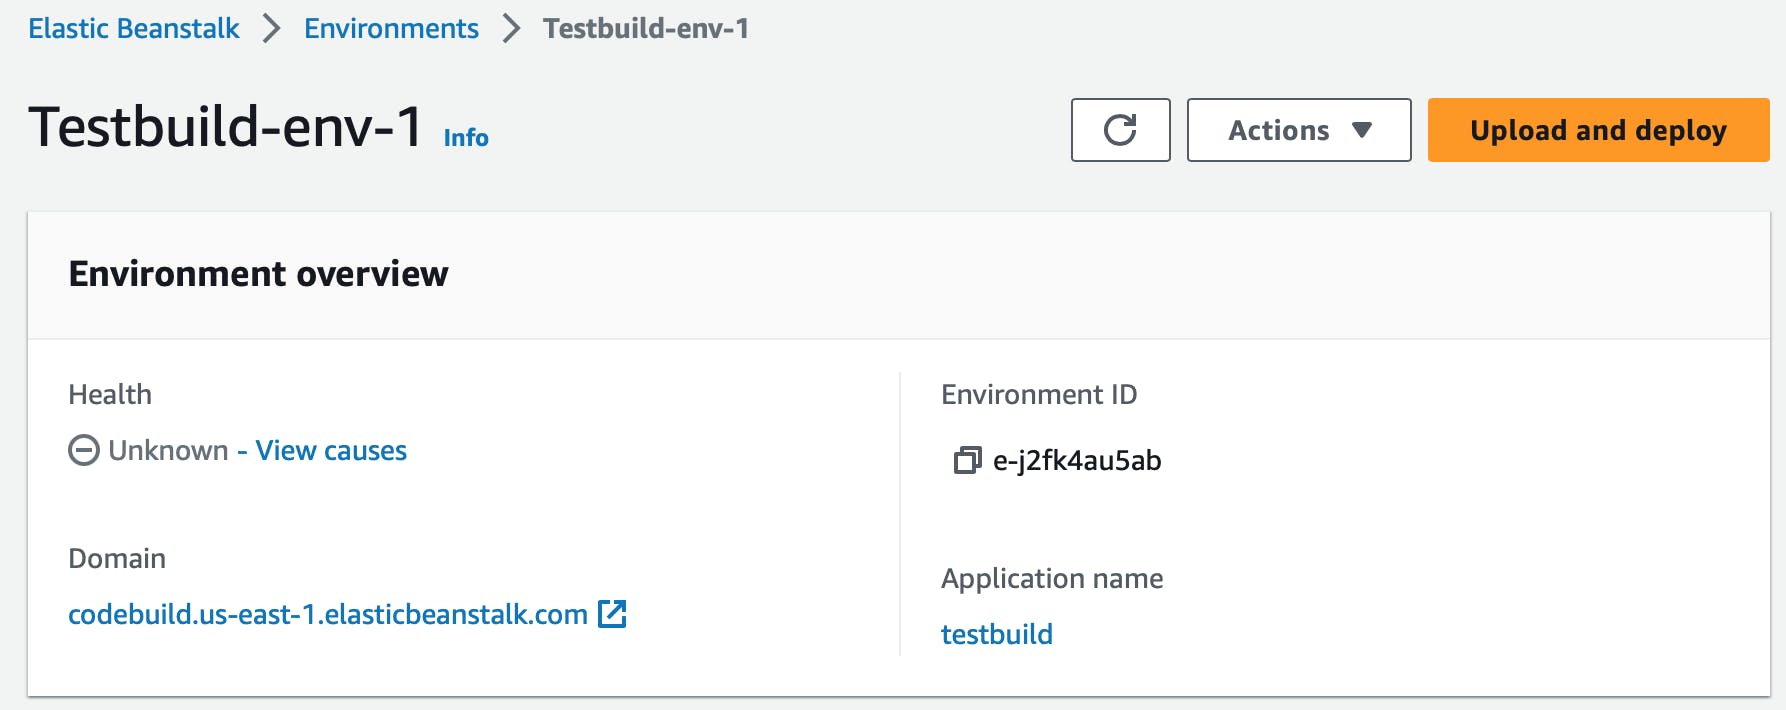
Feel free to view the newly created environment and click on the Domain endpoint.

Create a GitHub Repo
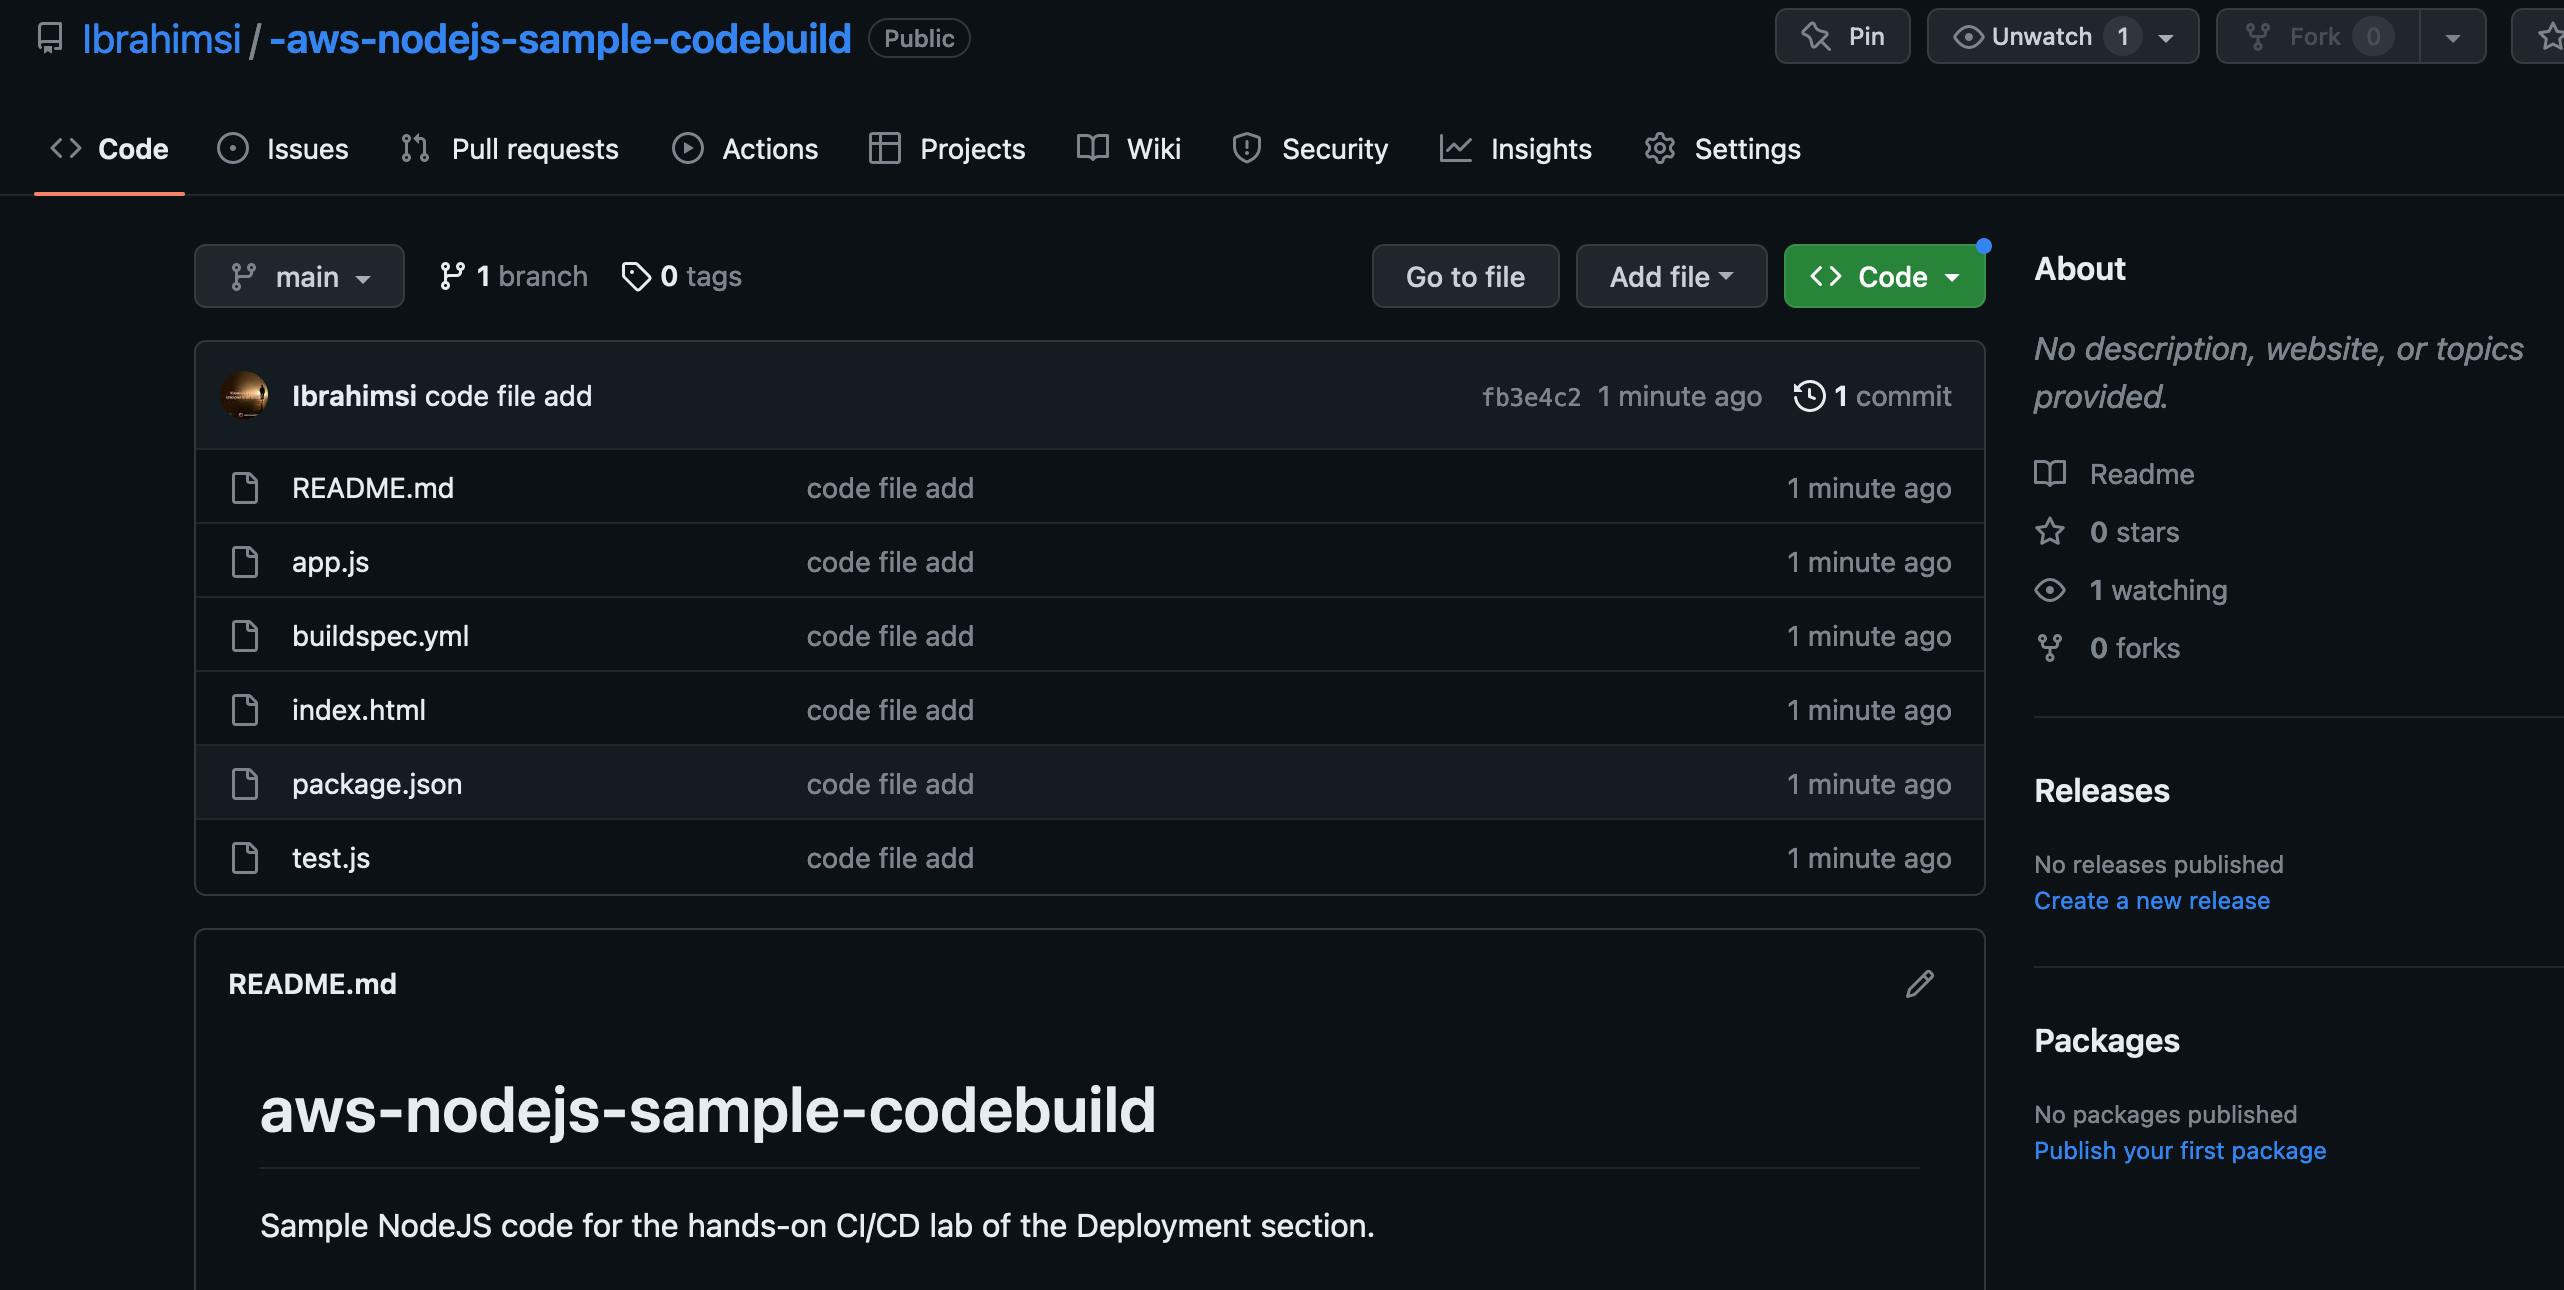
https://github.com/Ibrahimsi/-aws-nodejs-sample-codebuild.git
Creating the CI/CD PIPELINE!!!!

Click Create a Pipeline to begin the process
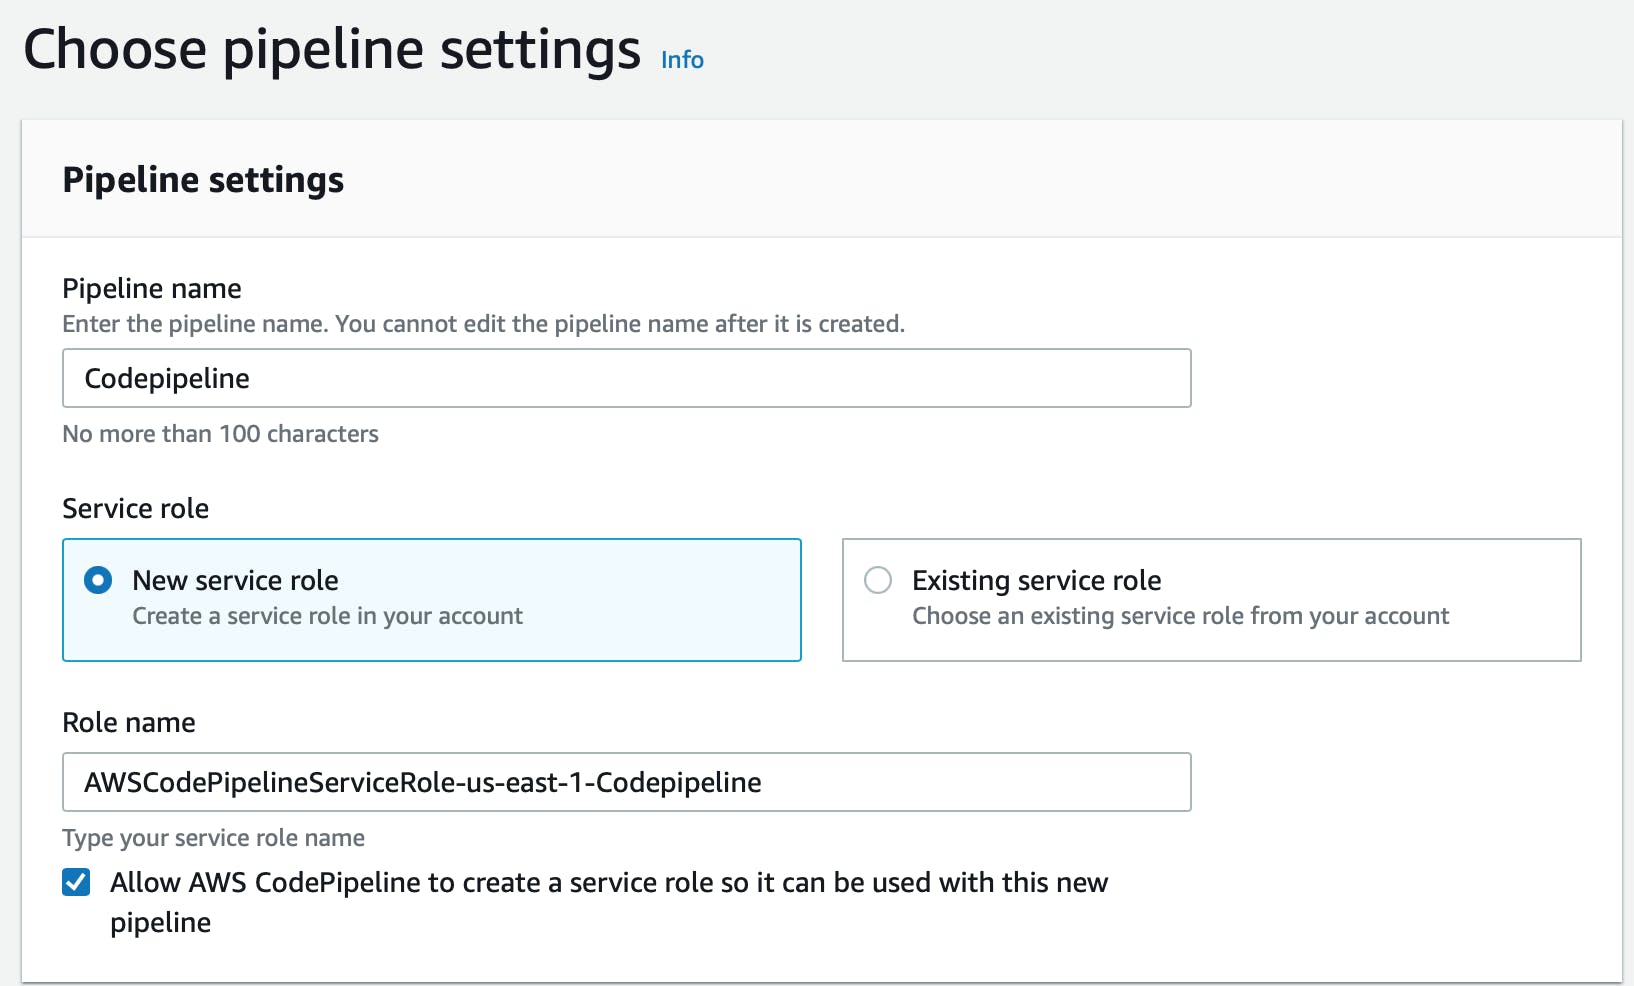
Give the Pipeline a name and choose if you want a new service role.
Click next
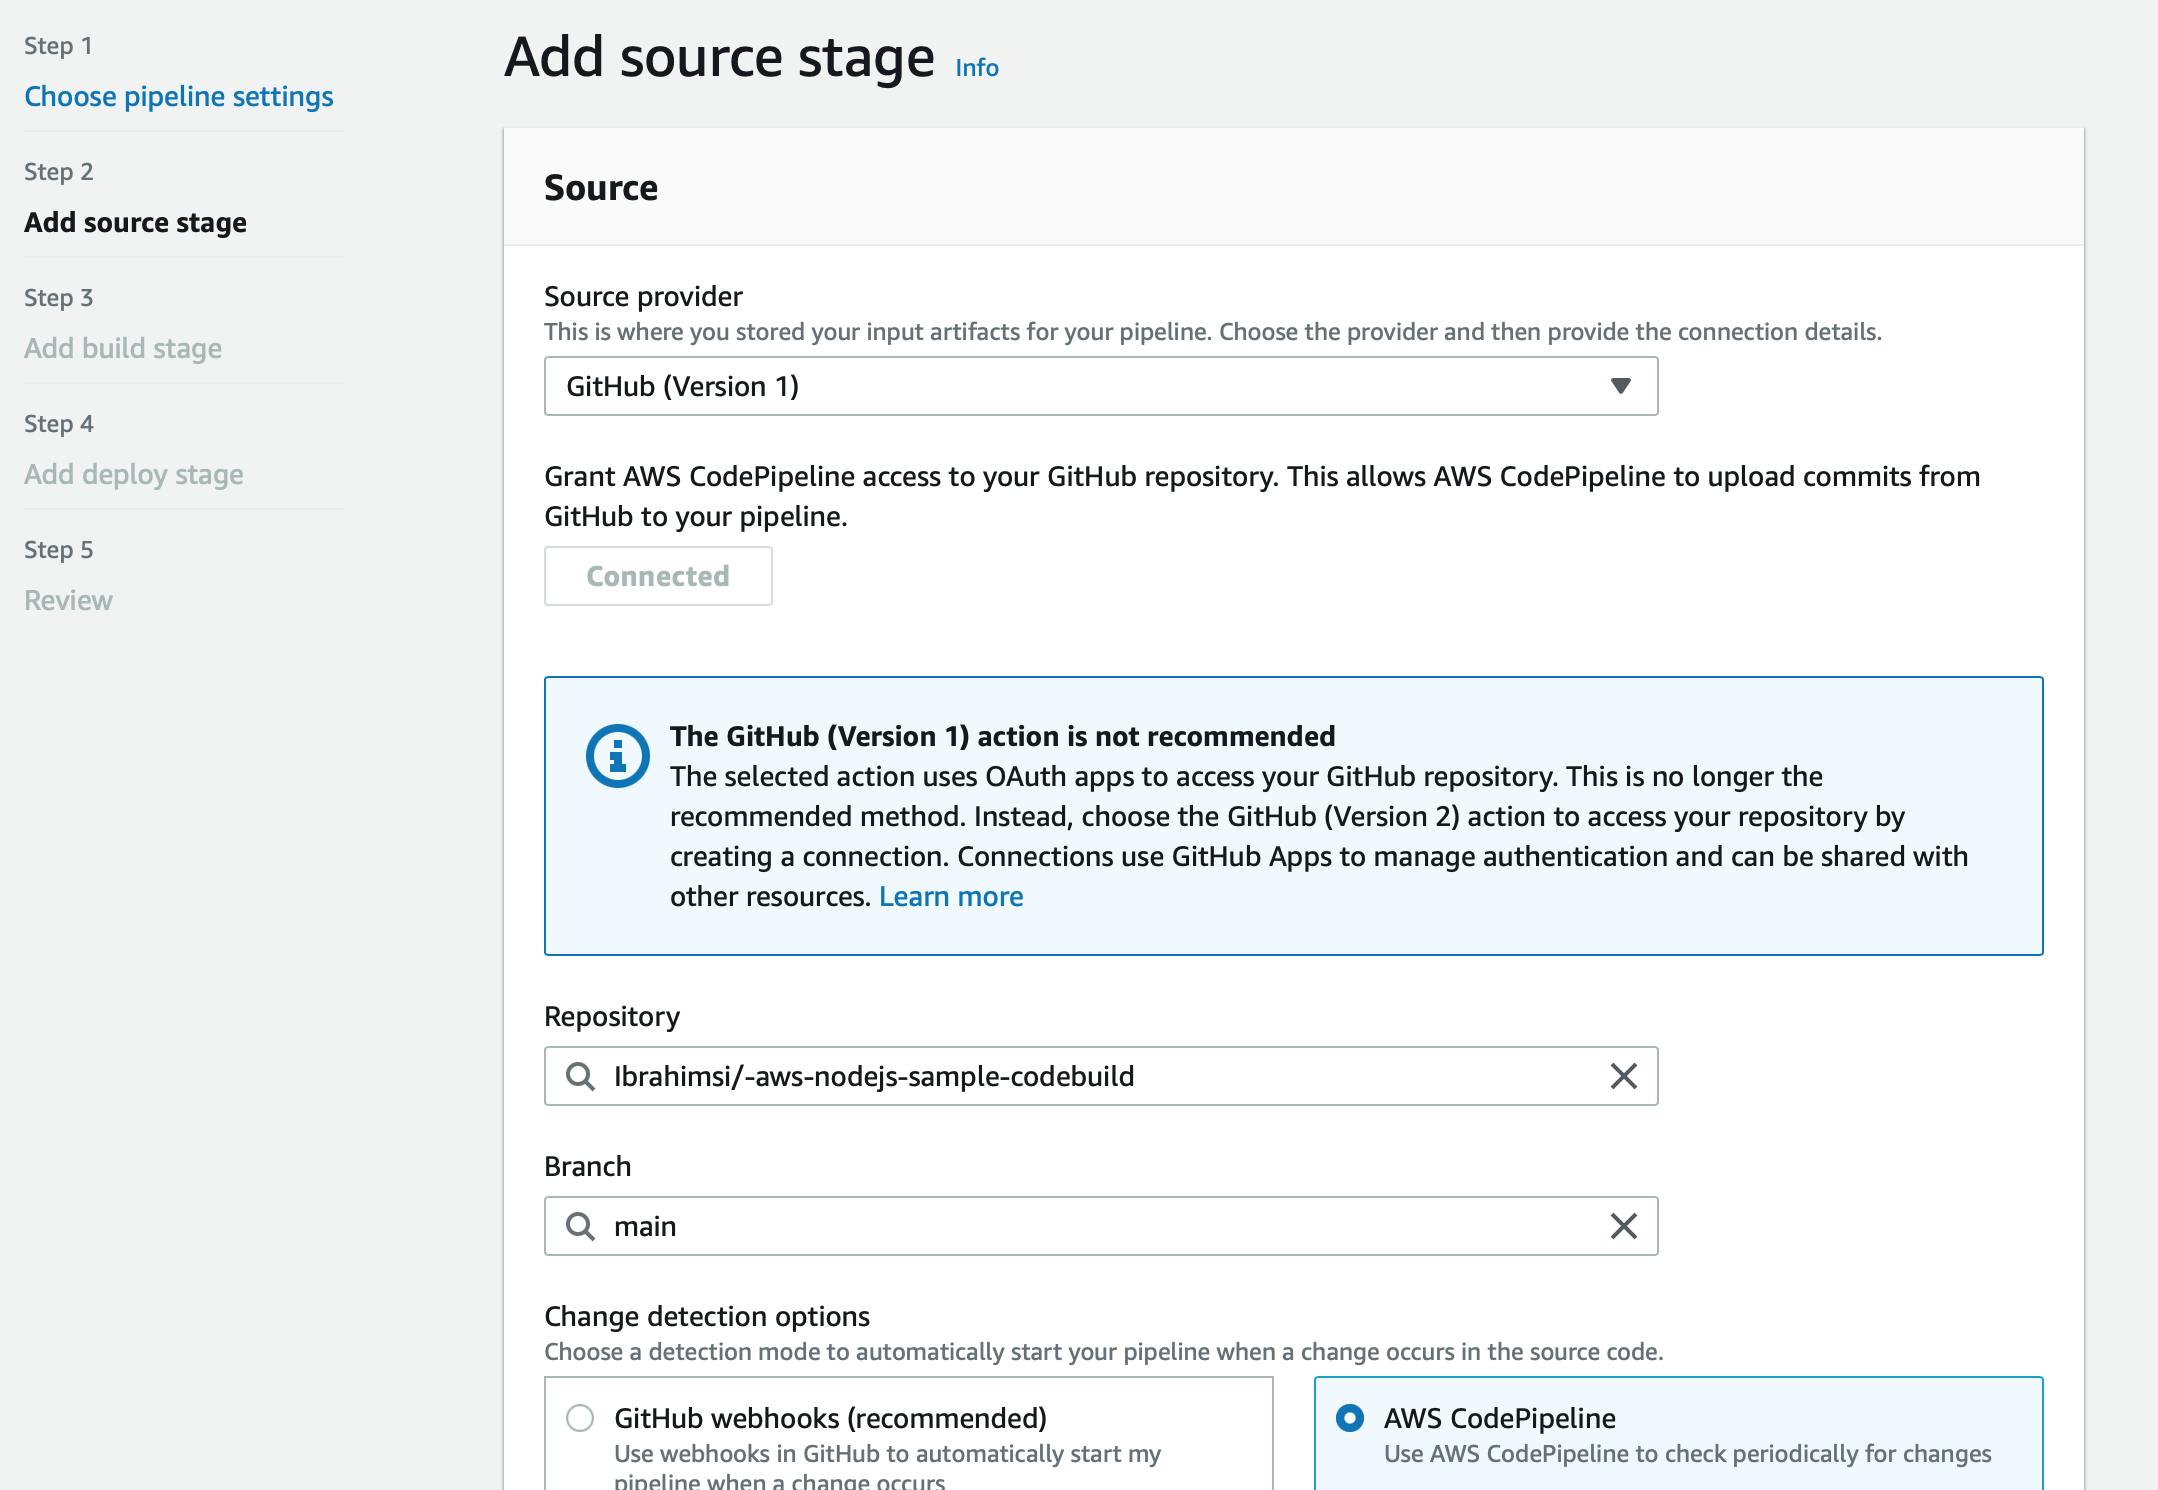
For the Source Provider choose GitHub and choose which version is best for you.
Click Connect to GitHub
lick confirm to connect to your GitHub account and choose the GitHub repo for this project and also the branch.
Select AWS CodePipeline
click next
For the Build stage choose AWS CodeBuild and create a new build project.
Select Single build
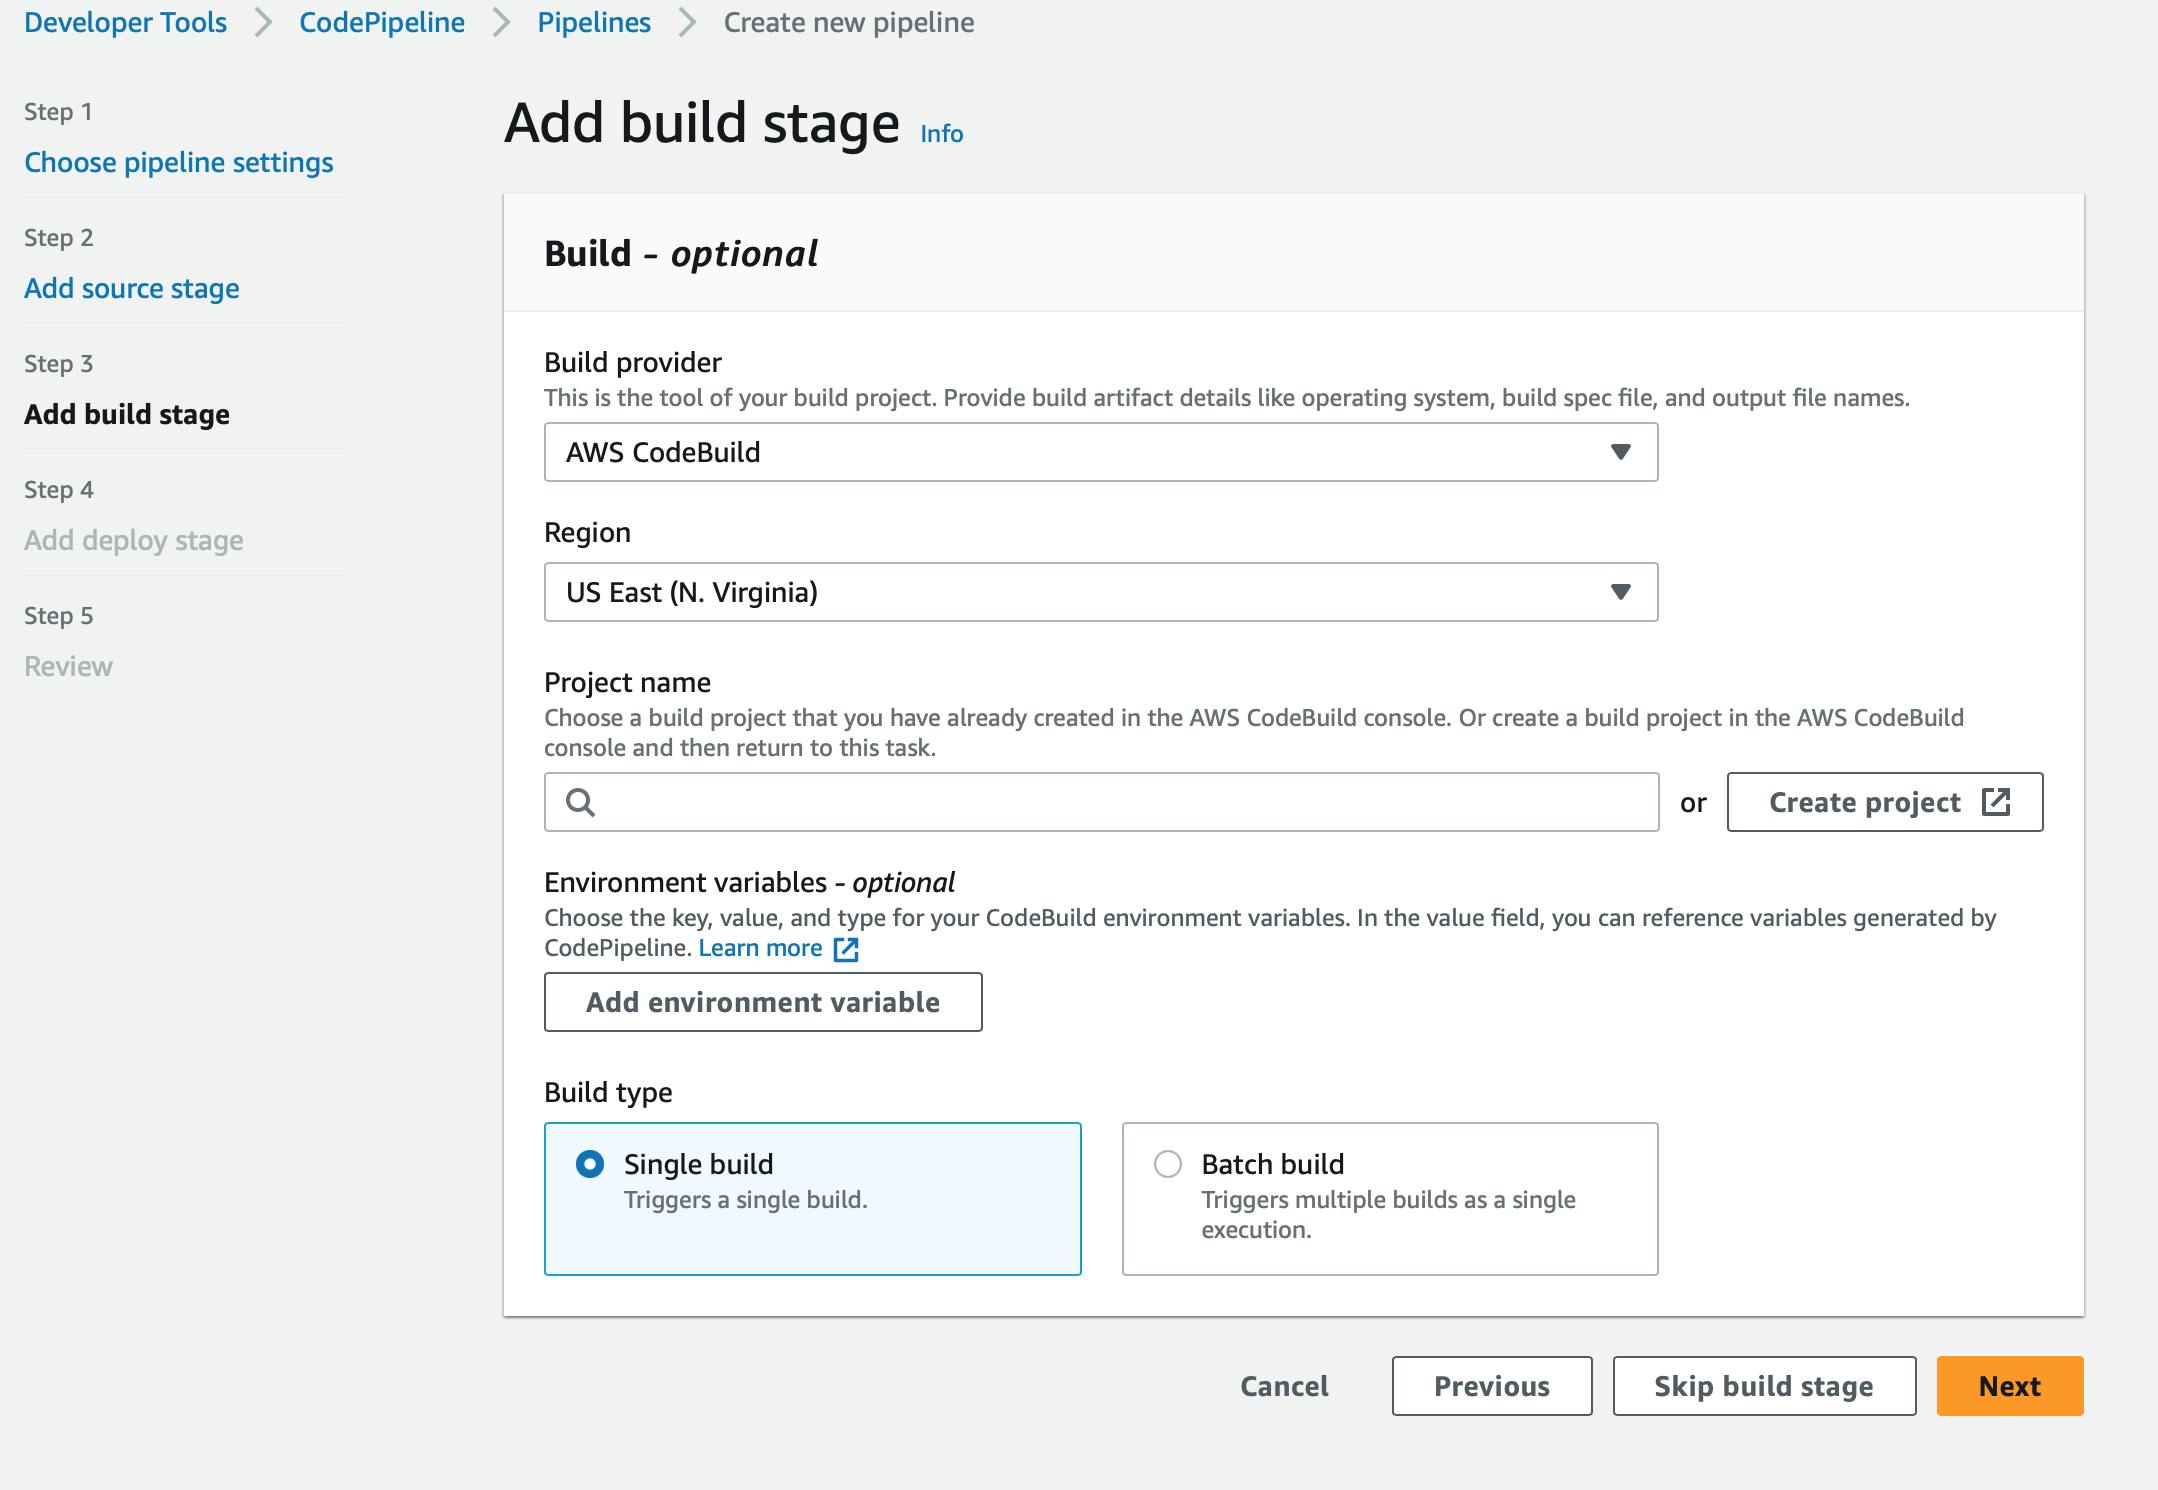
CodeBuild will pop up and this is where you’ll implement the information for this project.
Give the project a name, (it’s also wise to name the project the same as the GitHub repo that was created.)
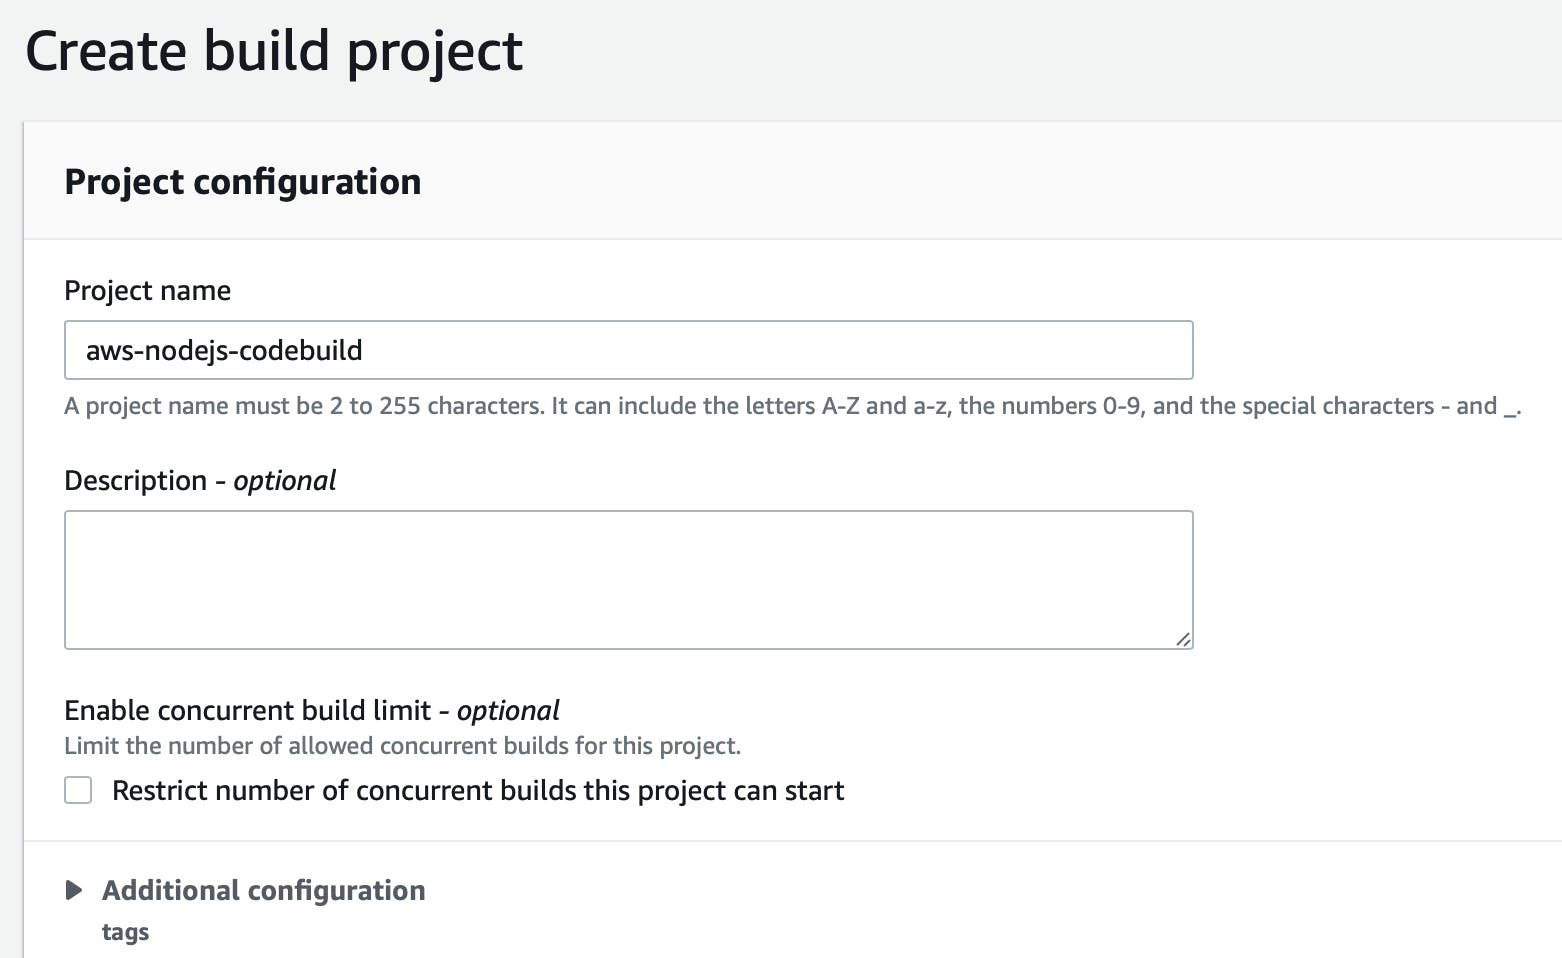
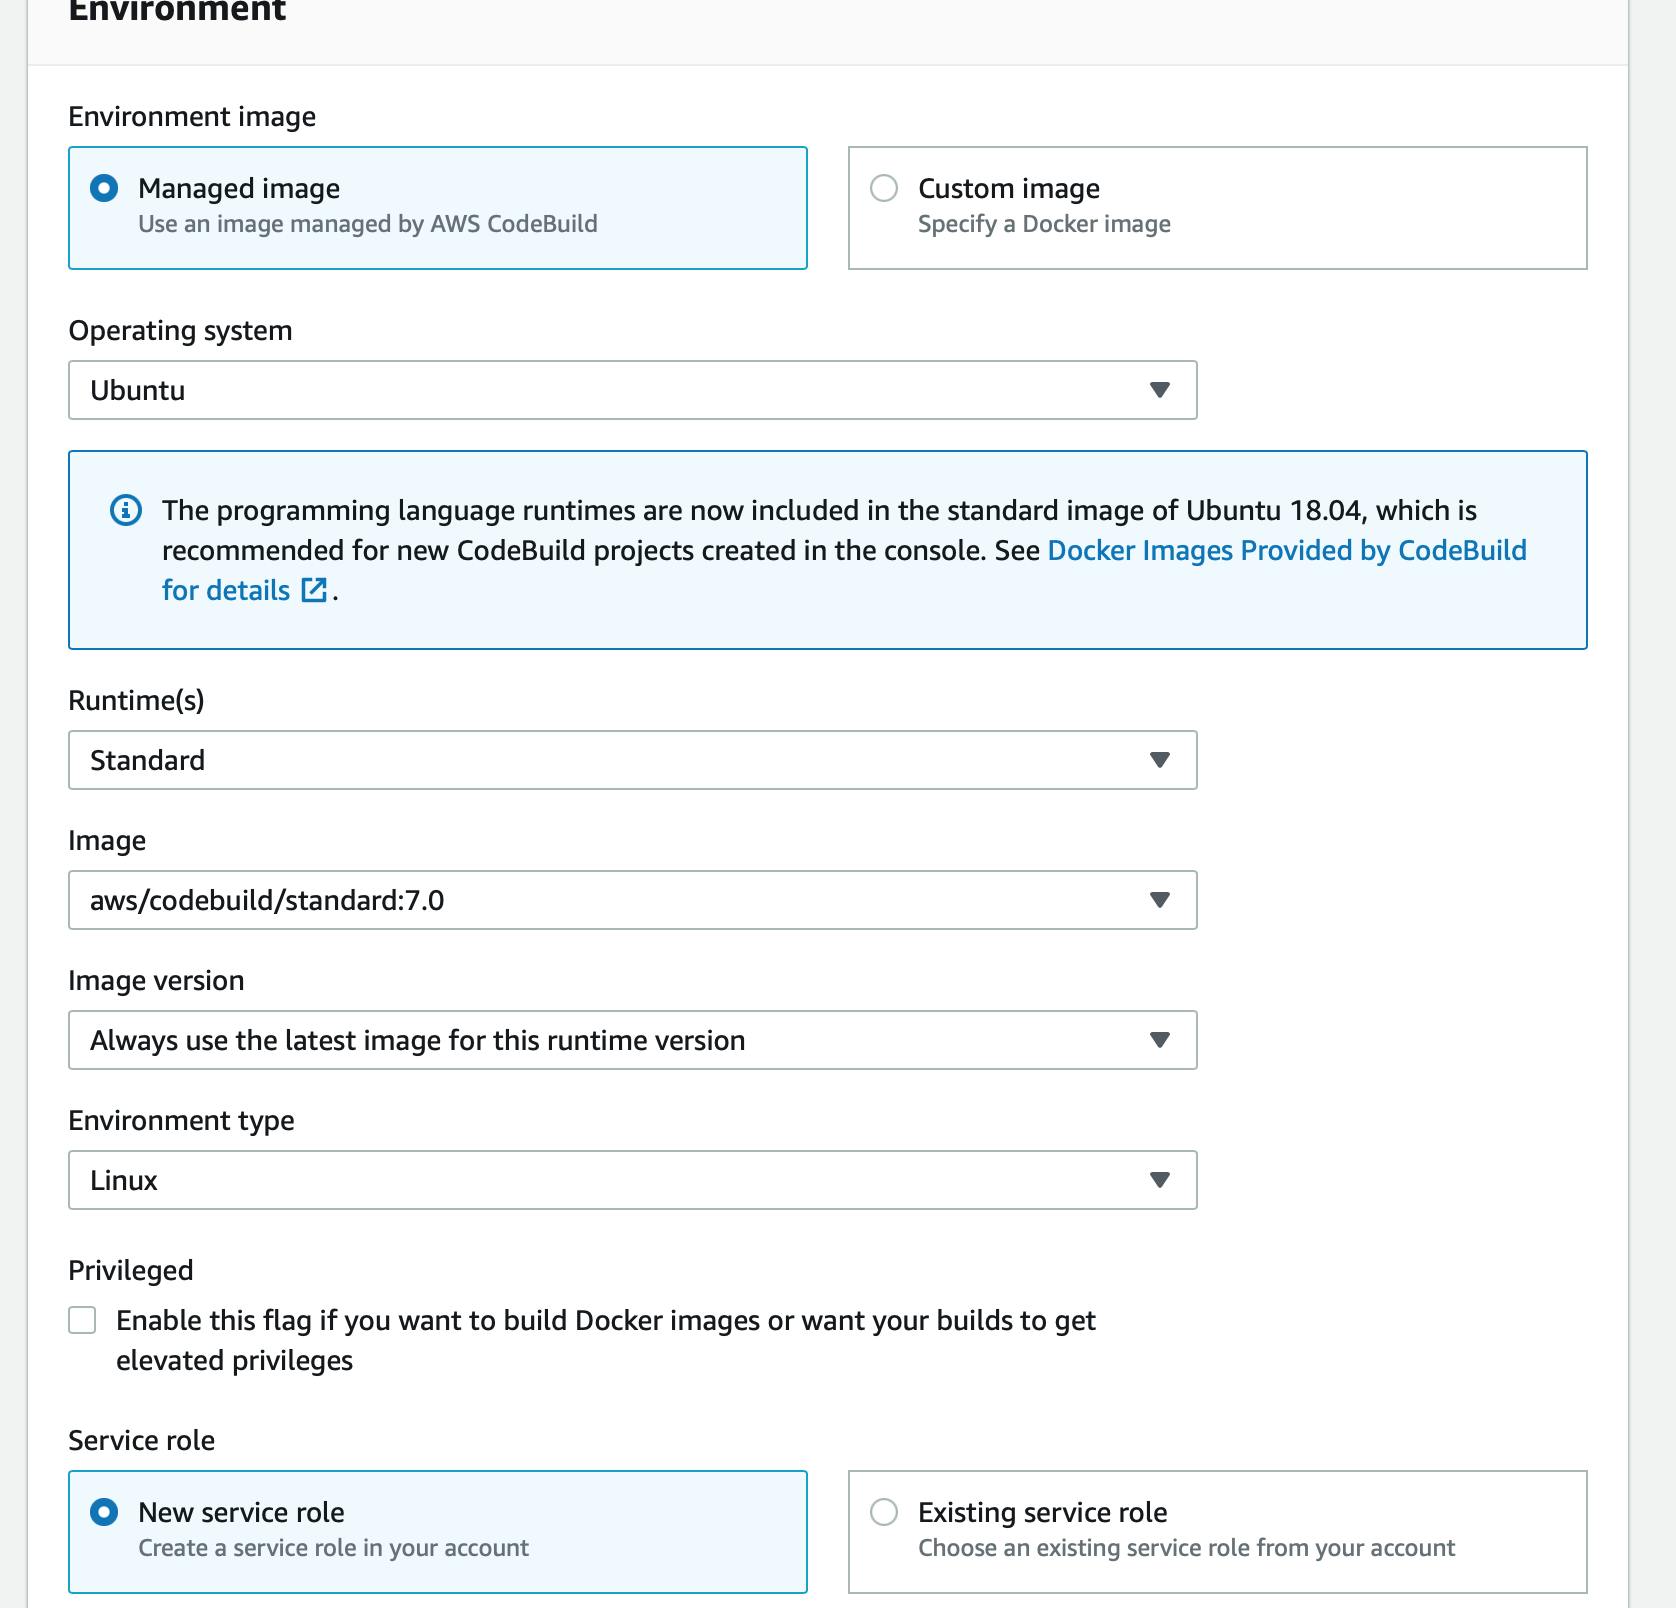
For the Environment choose the managed image
Select Ubuntu as the Operating System
Select standard 7.0 for the image and for the Environment type choose Linux.
Choose a New service role
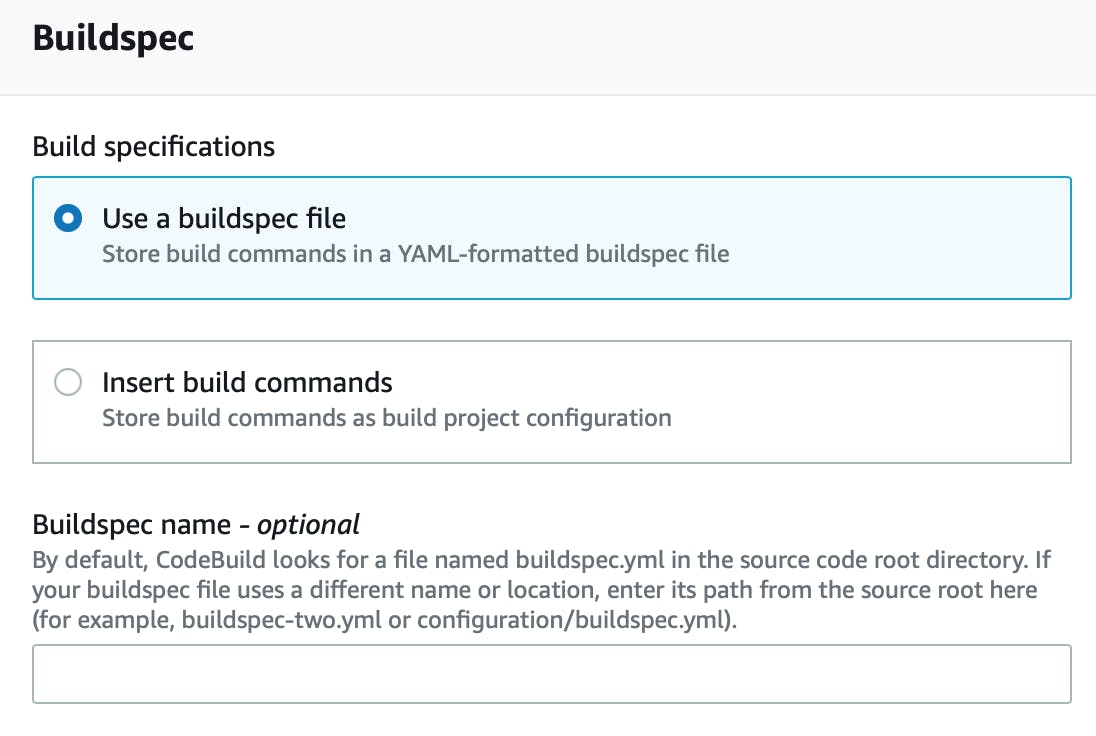
Select use a Buildspec file for the specifications
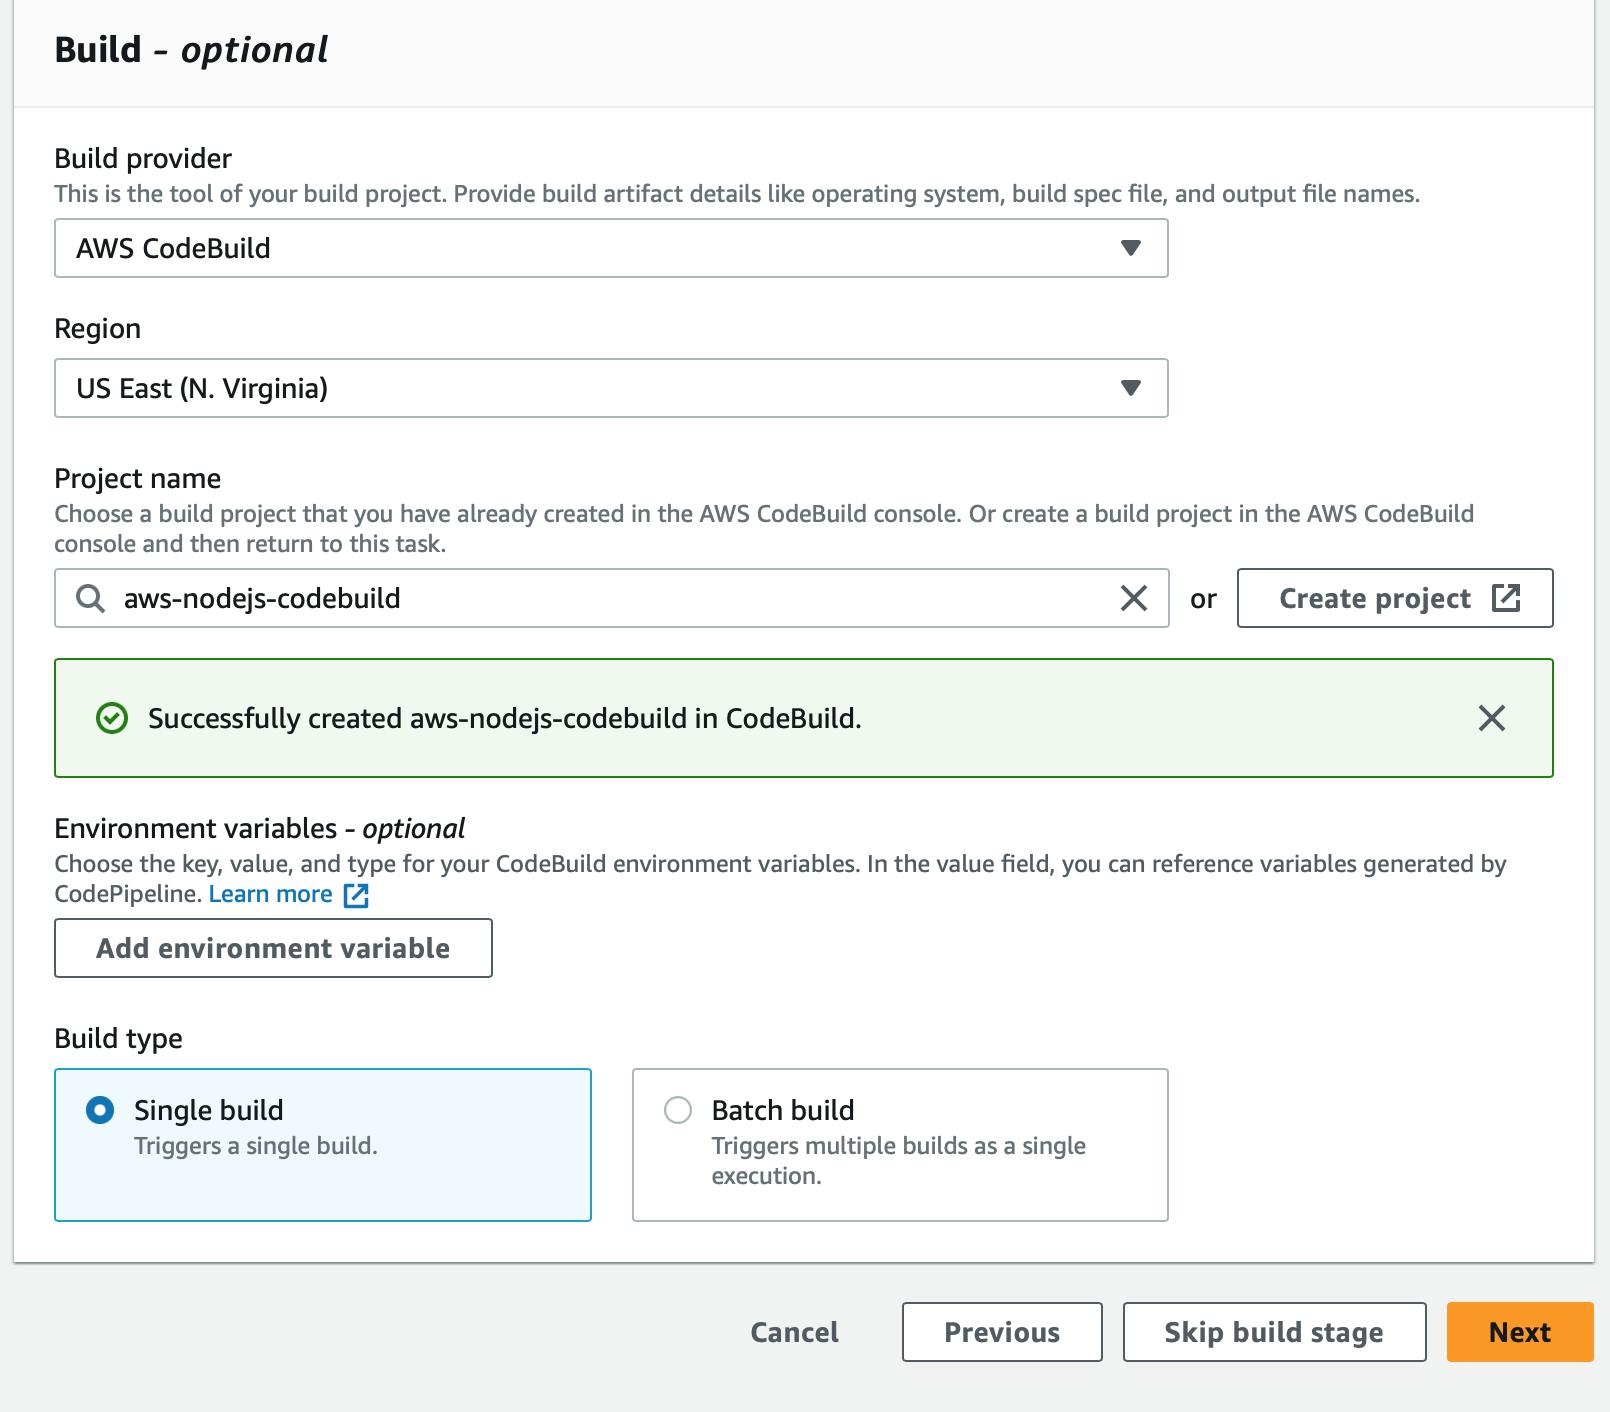
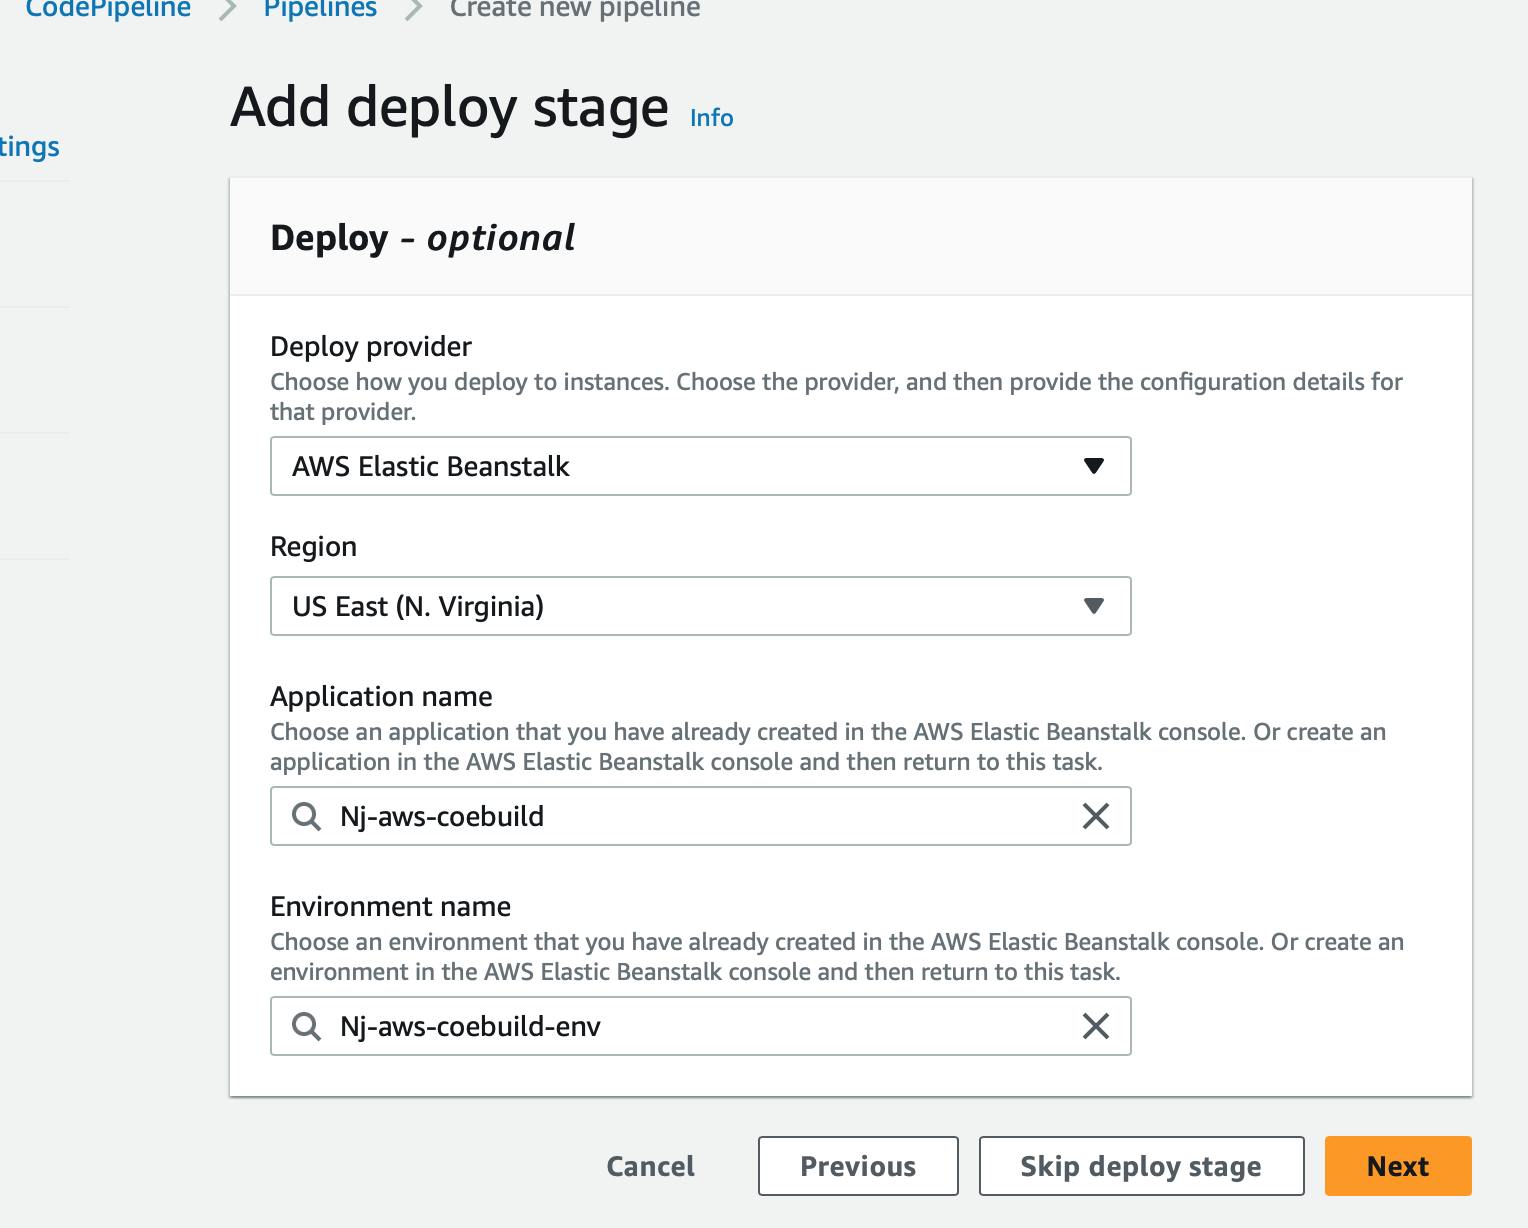
Review your information for each stage created and then click Create Pipeline
Now Pipeline will be created.
The Source code from GitHub ran smoothly and Mocha ran the test file and it passed then Deployed the files to Elastic BeanStalk.
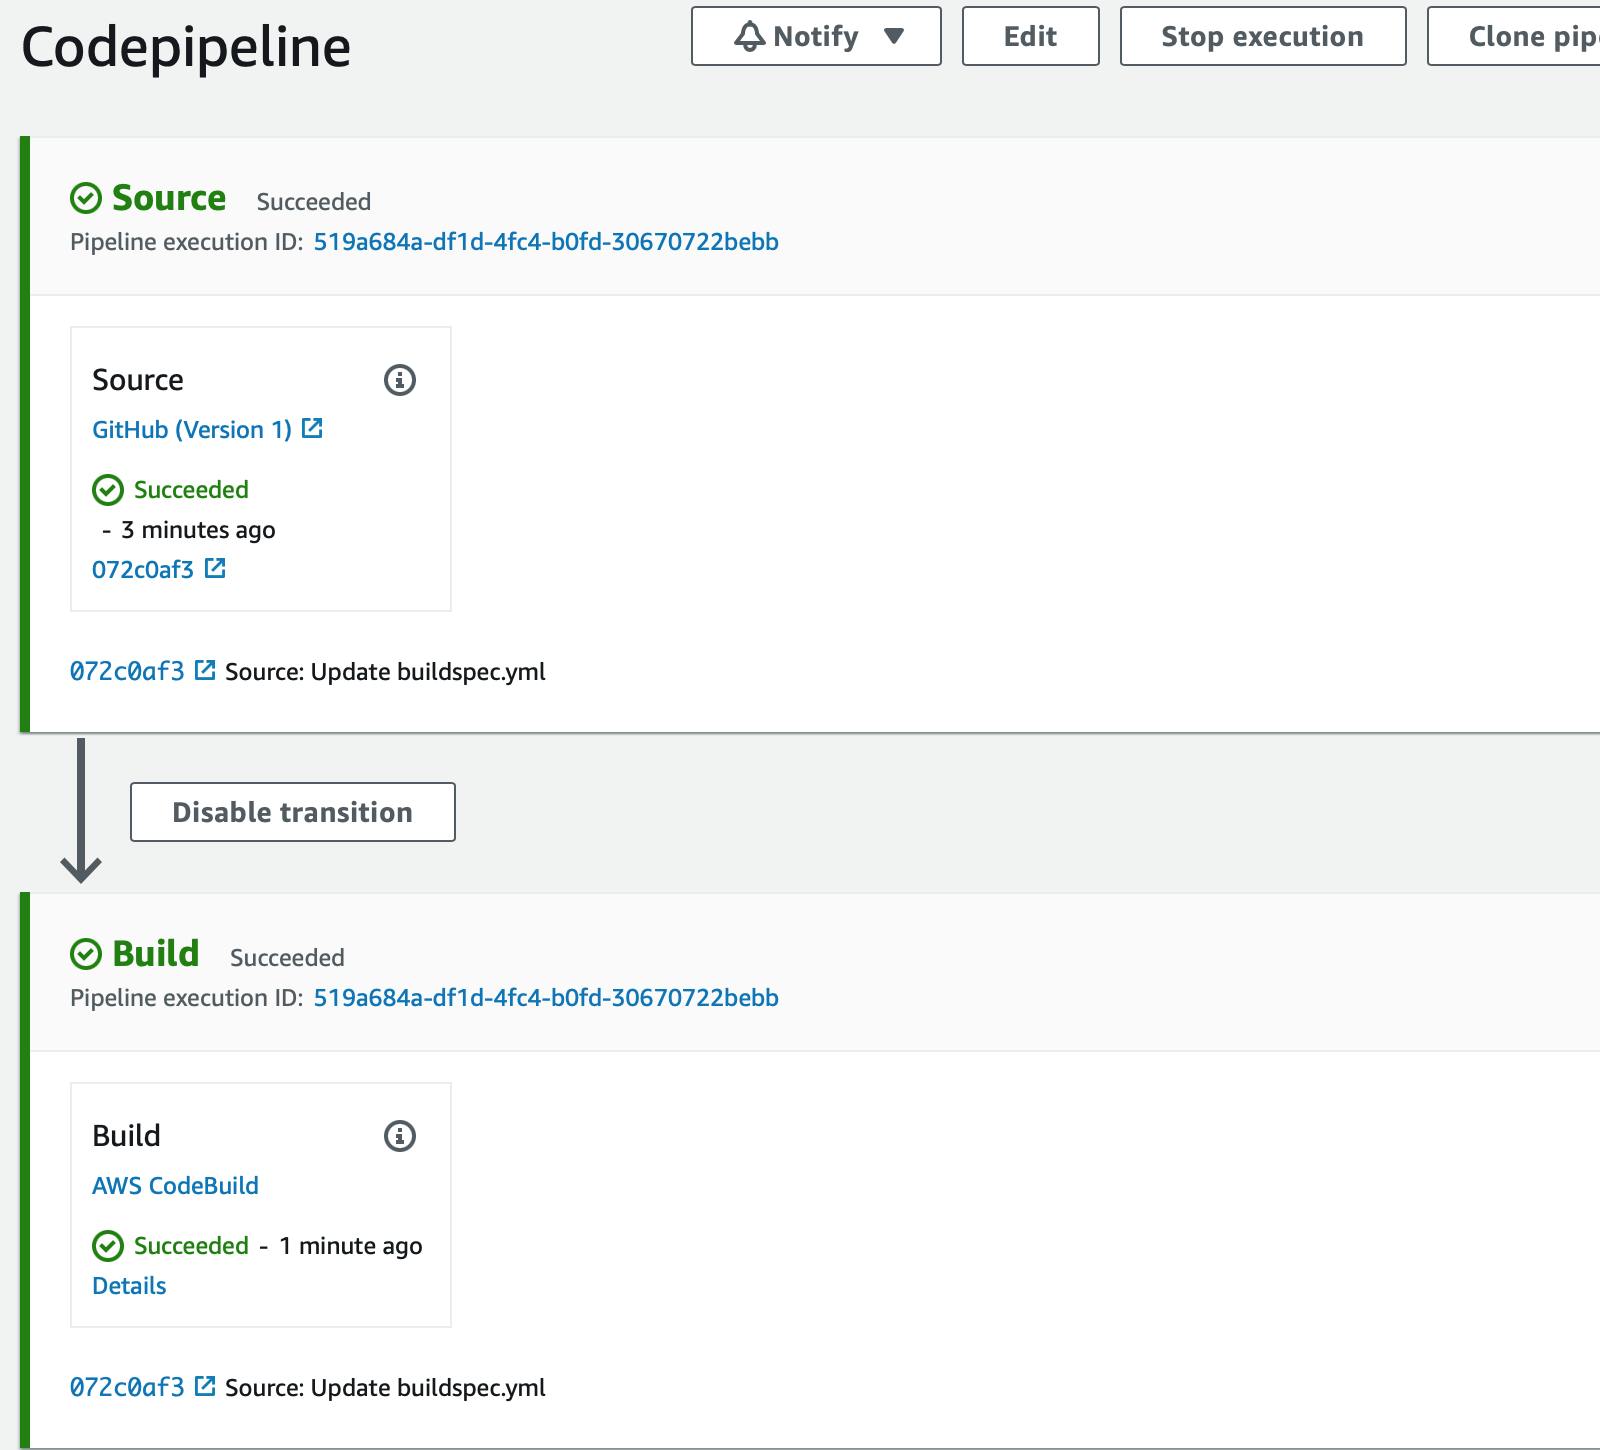
Now if you go back to ElasticBeanstalk and click on the domain you’ll see the color of the background has been changed to blue.
